


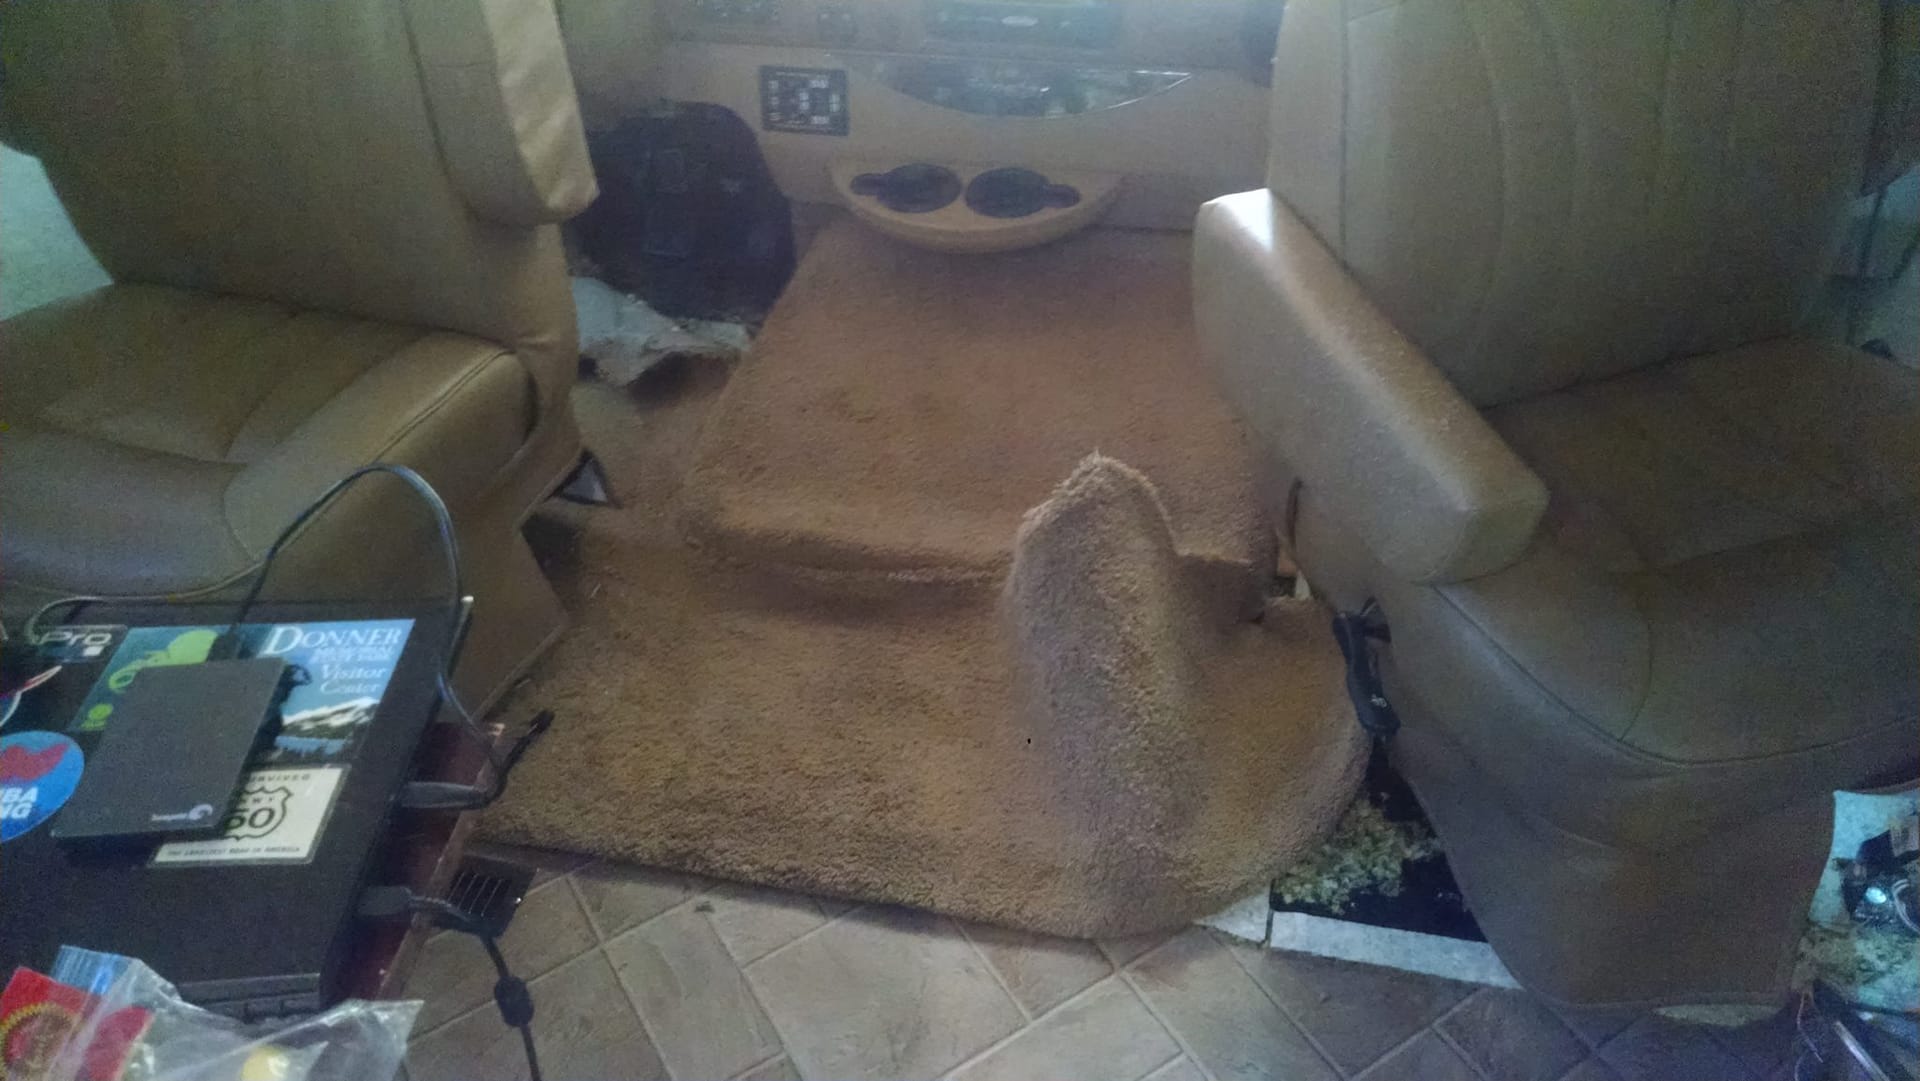
Levi never liked the carpet in the chassis portion of our 2011 Itasca Sunstar Motorhome. In fact, he admits, he told me that the carpet would be the first thing he would rip out after purchasing the rig. Fast forward almost two years and the carpet is still there…or rather was. Our first major home improvement project,installing new flooring, came and went without a hitch. Not bad for a couple of amateurs.
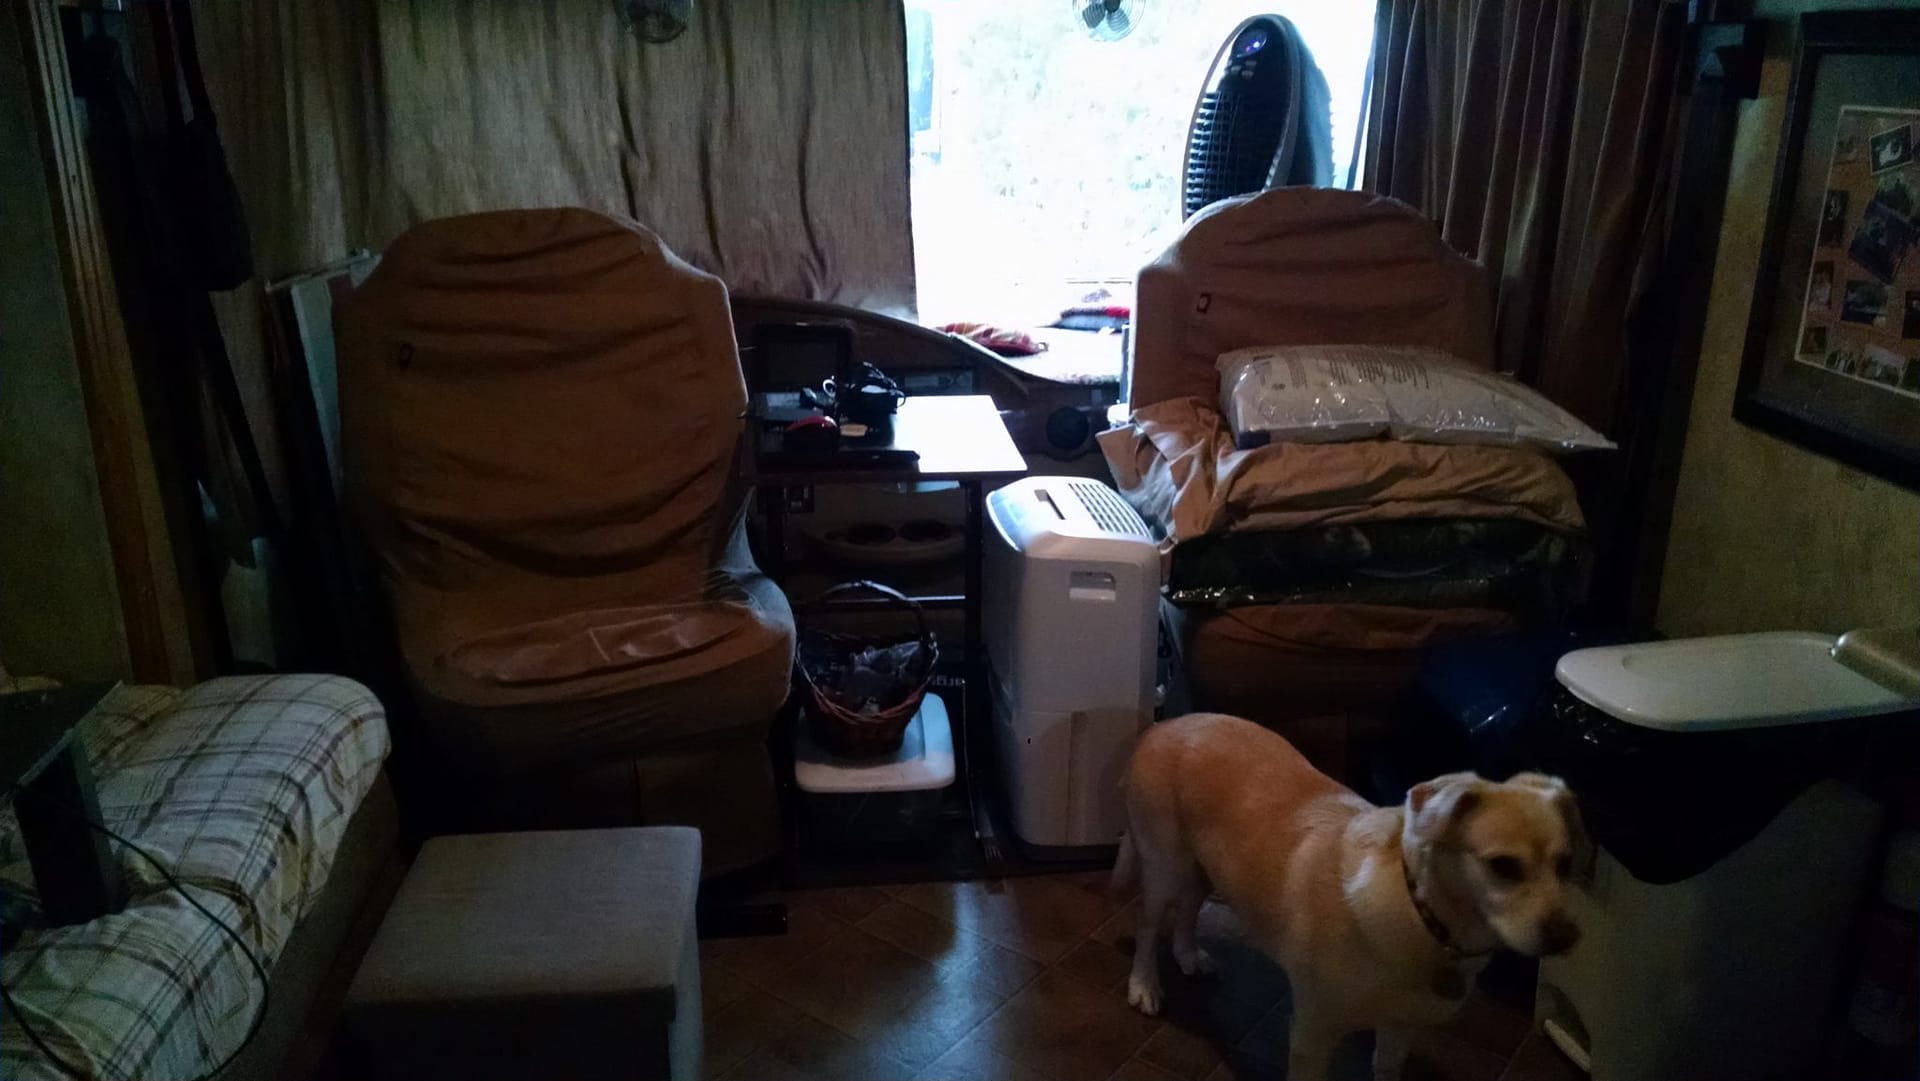
As many of our readers are aware, Levi and I are the proud parents of three cats and a dog. Carpet is not our friend with all of this mass shedding. We didn’t really like the idea of carpet lining the front portion of our motorhome, driver and passenger seating area, for many reasons. One, this area is a high traffic area during travel days with all the debris that we track in from outside. Two, for the only carpeted area in the motorhome, it is the most difficult to get to with a vacuum, a cramped maze to say the least. Three, when parked for a time, we found that the best place to store our cat litter boxes was behind the driver and passenger seats (both seats turned to face the living area of the RV) . Unfortunately, the cats had multiple accidents and soiled the carpet. There are just so many times that one can use Nature’s Miracle or the like before retiring a carpet. This was about the time we decided the carpet had to go!
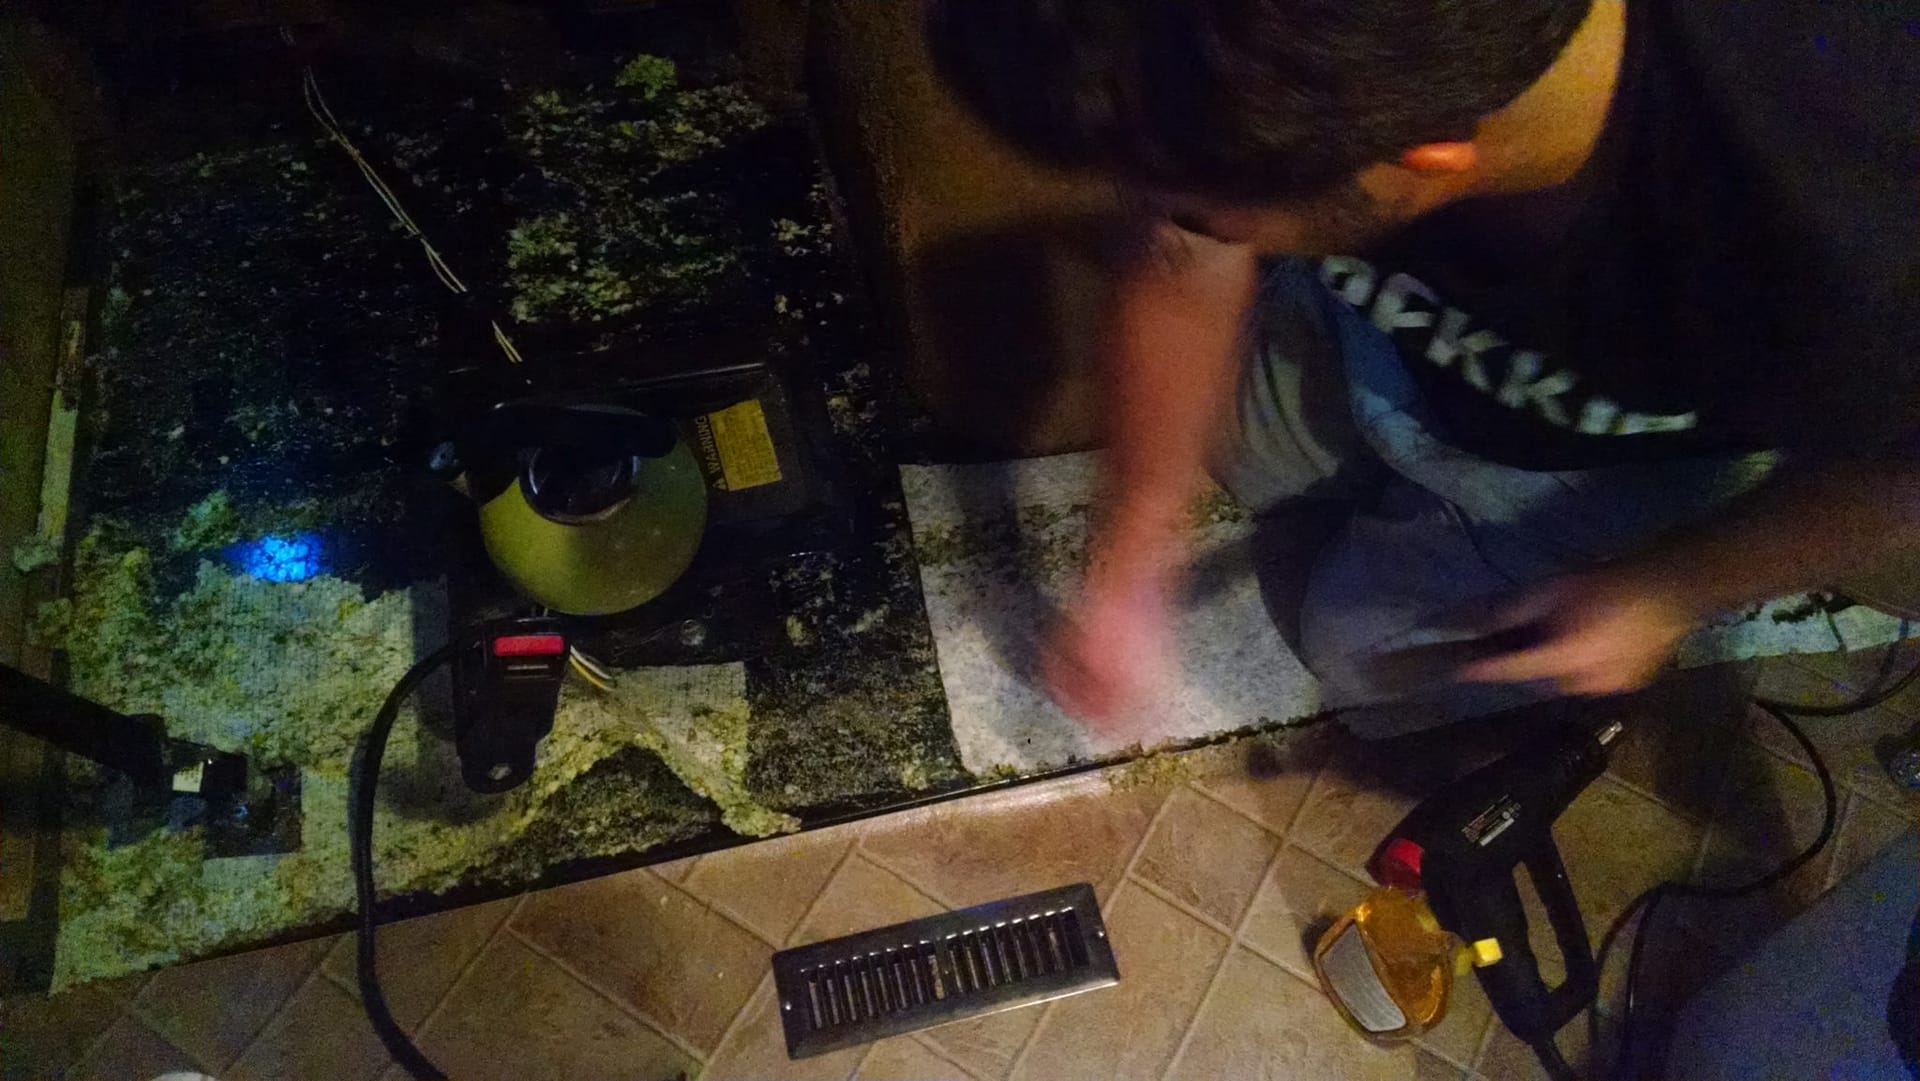
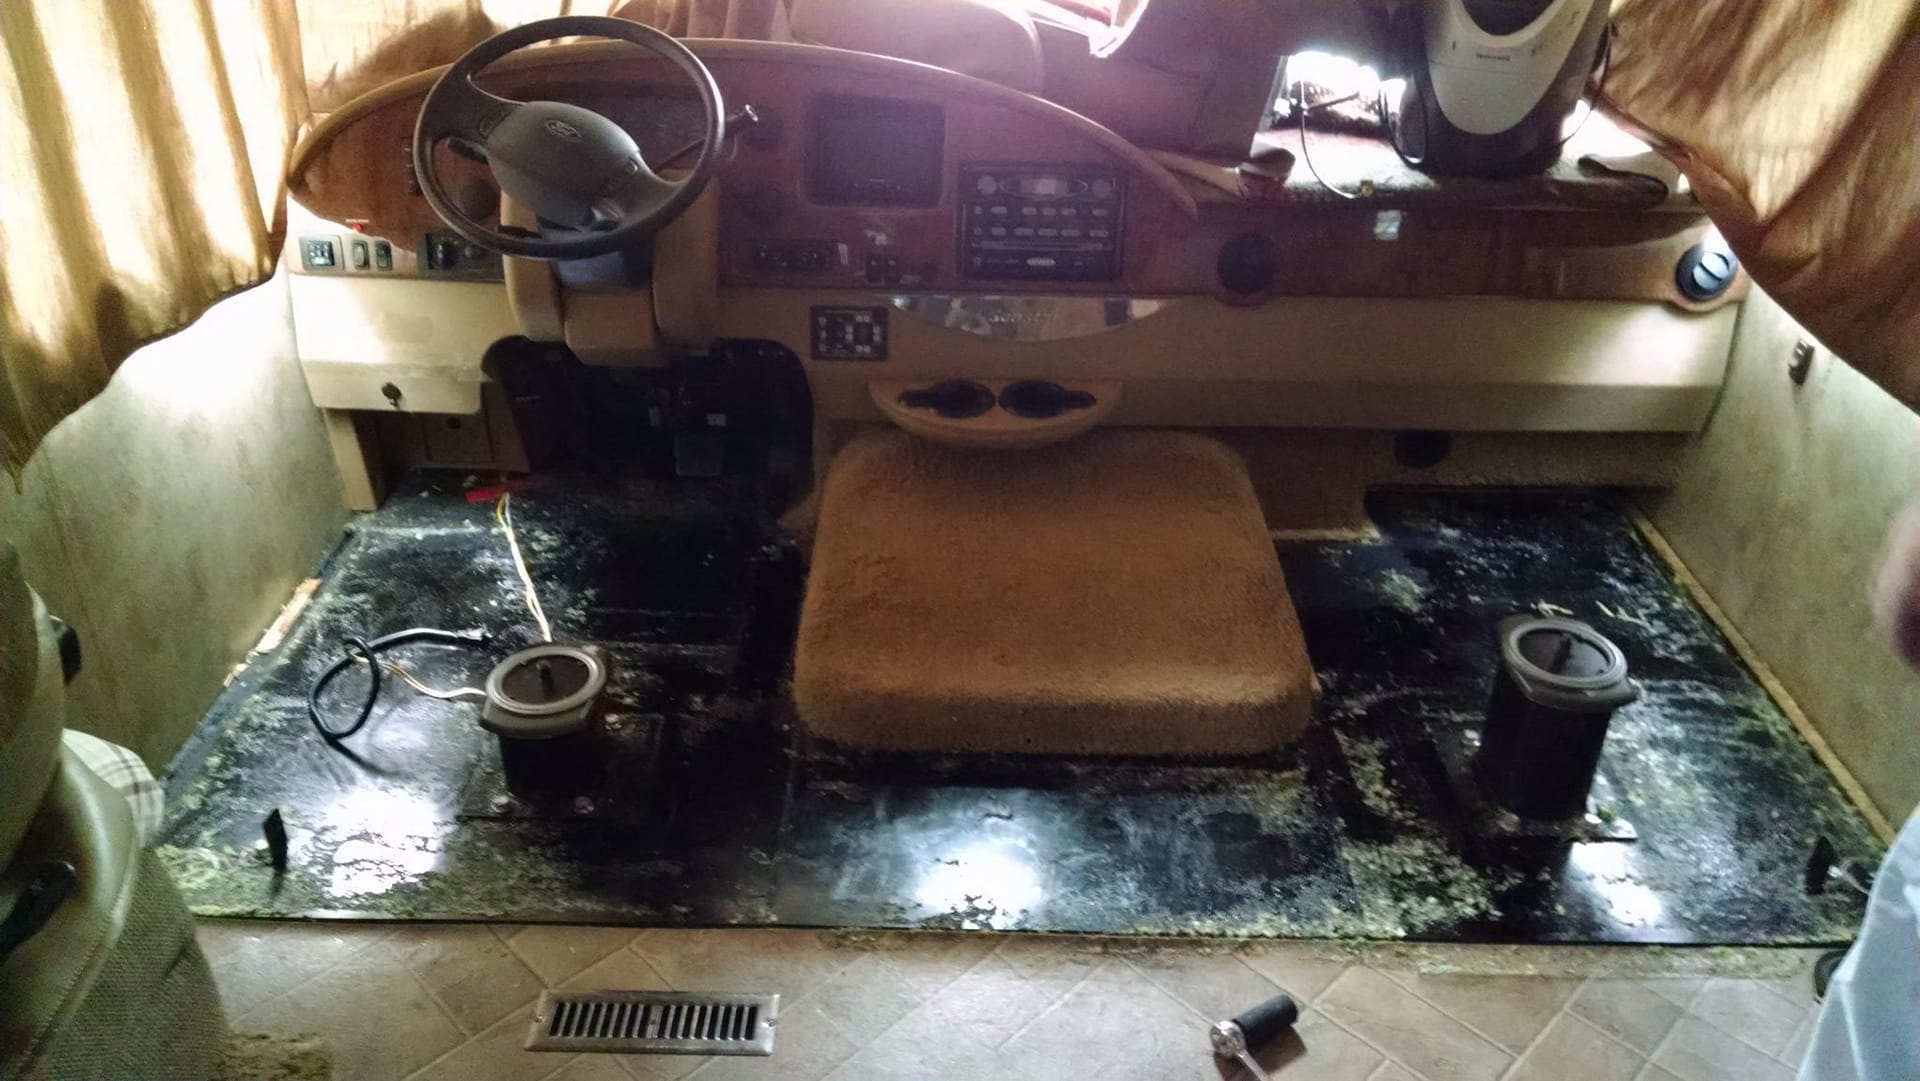
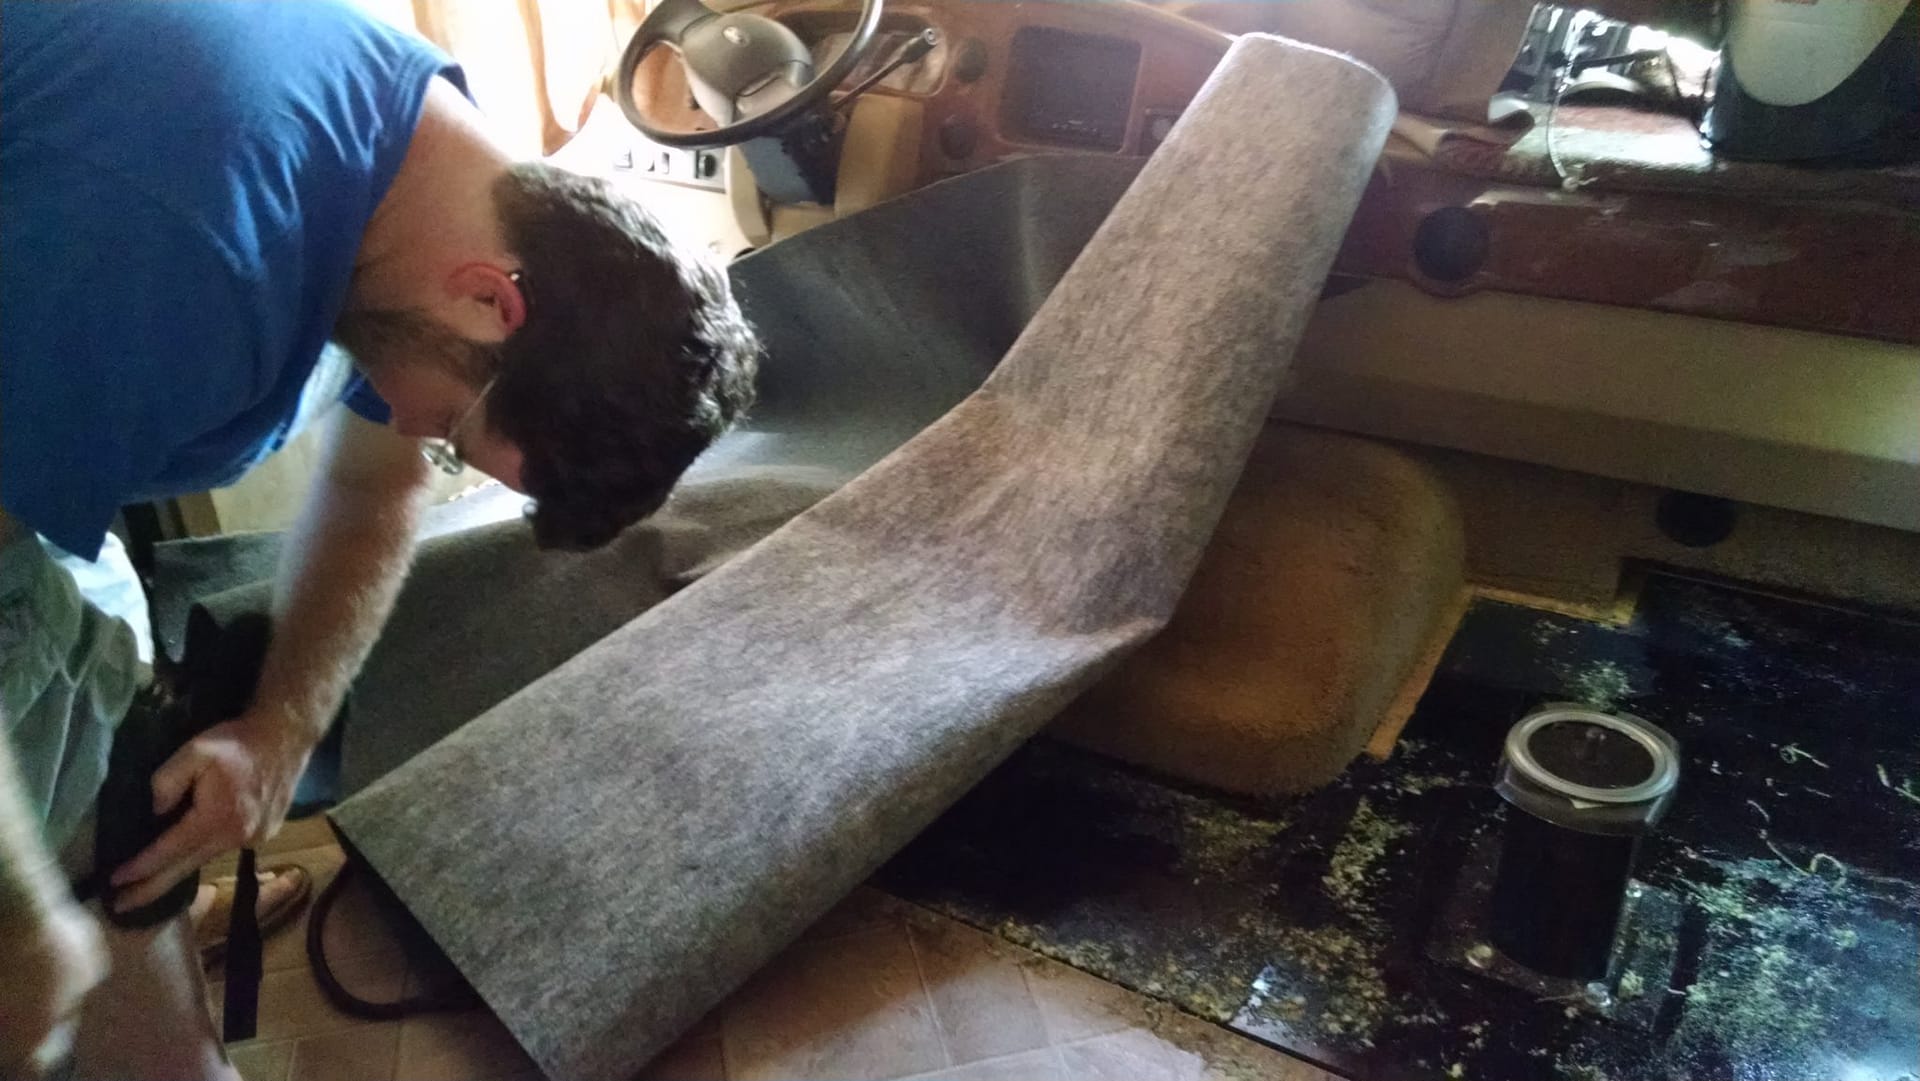
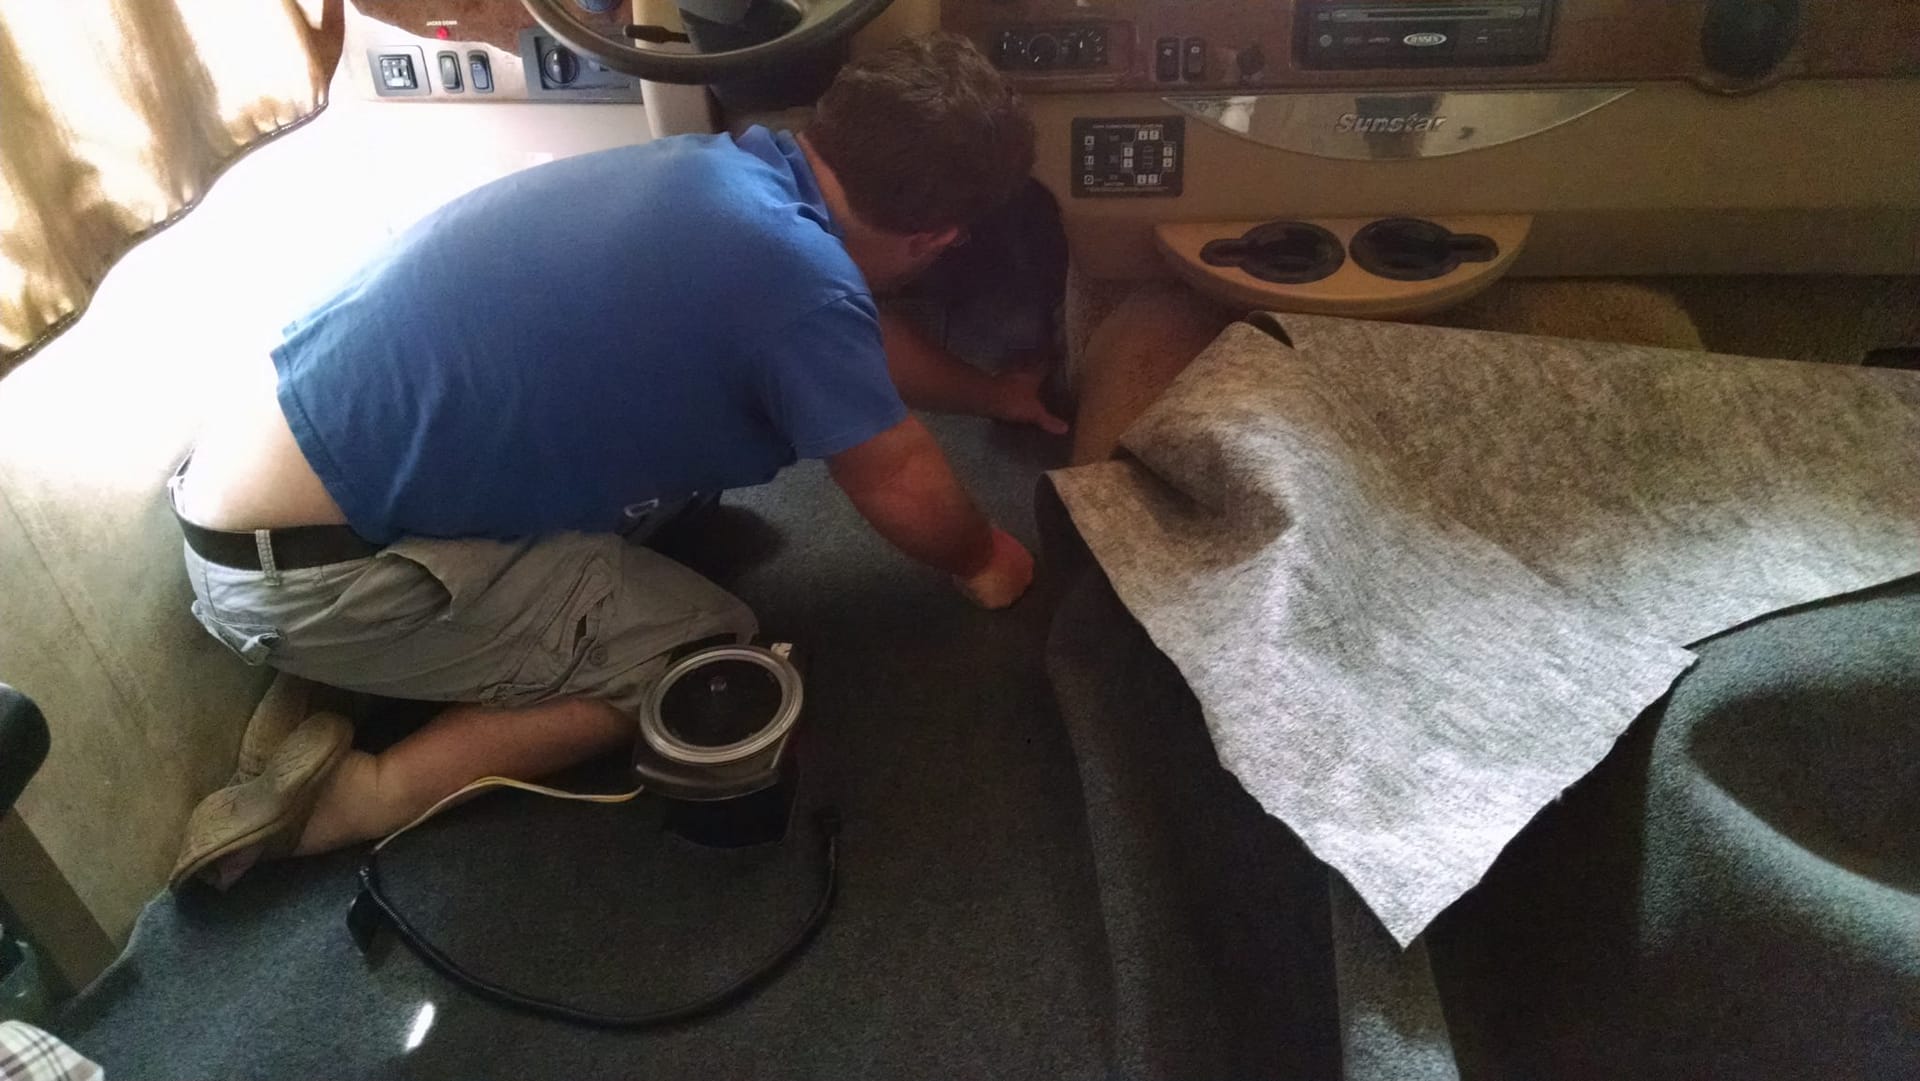
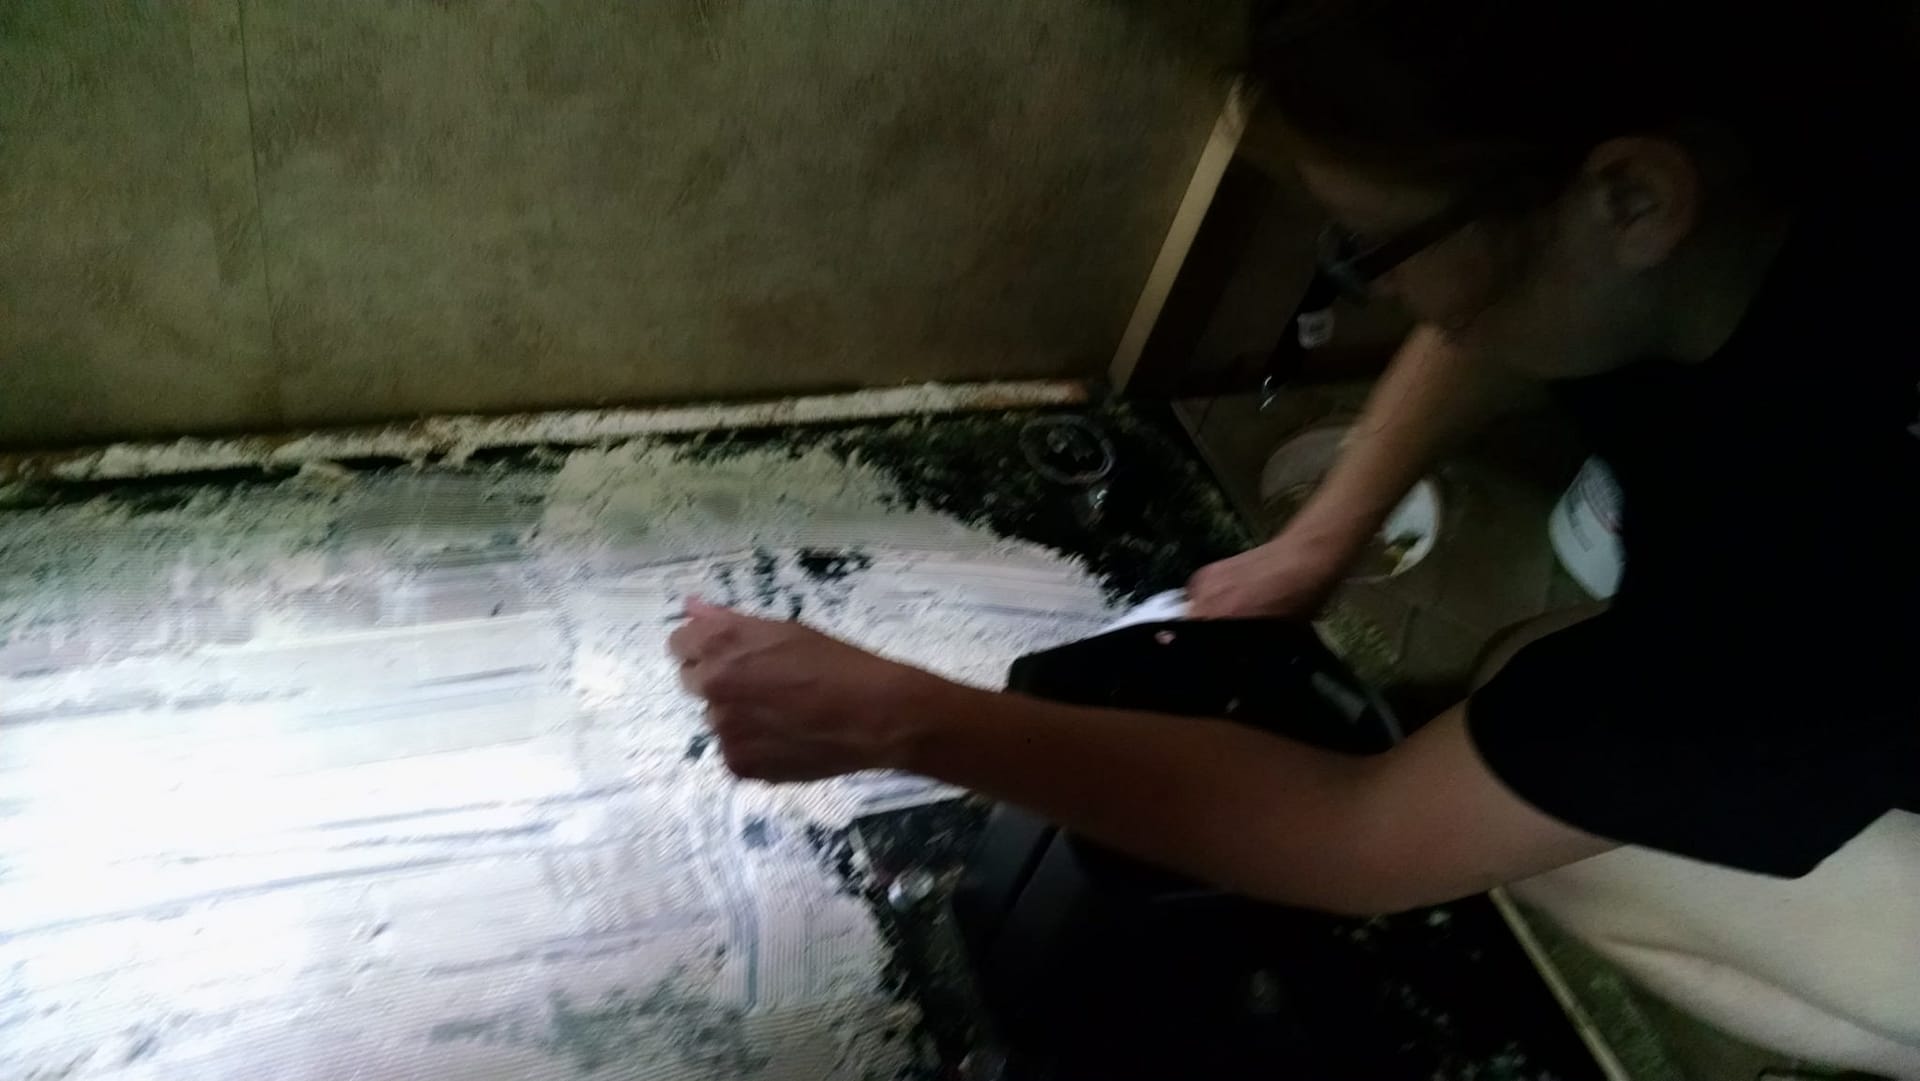
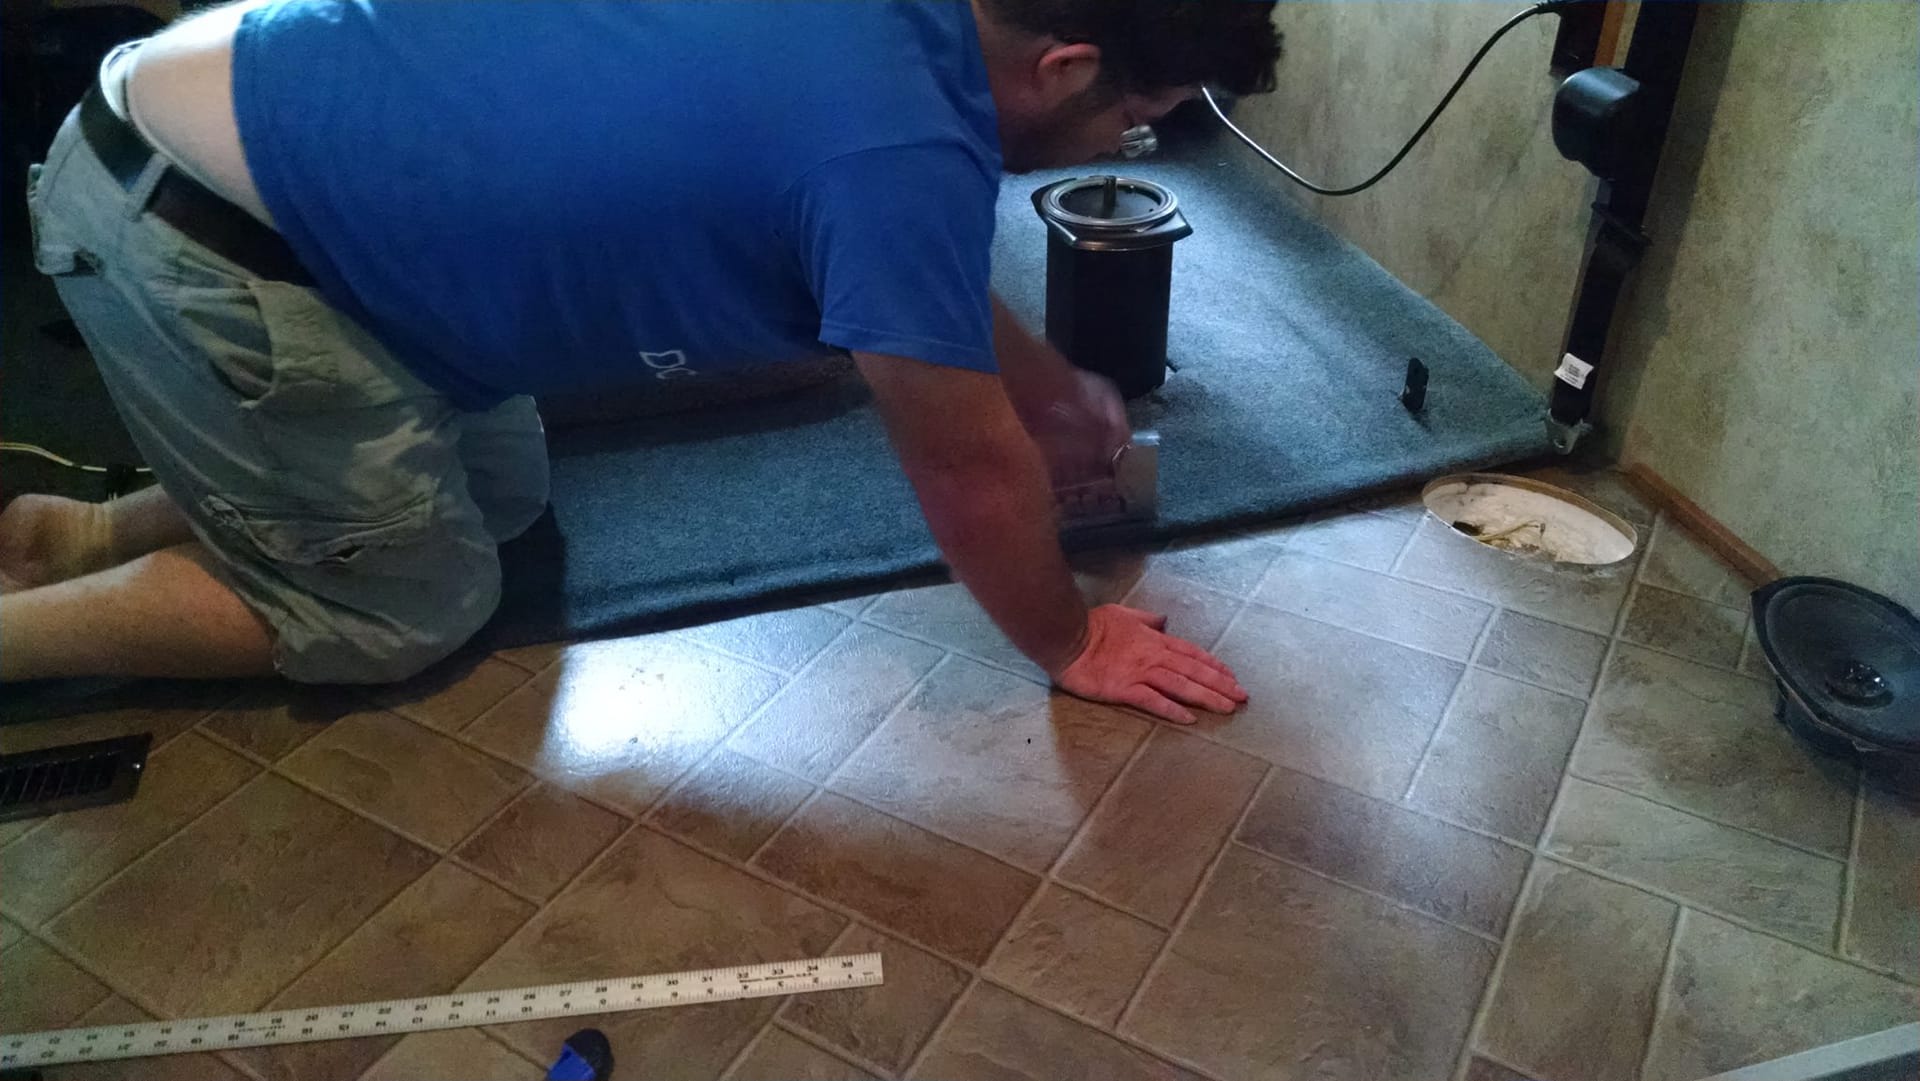
Our project lasted the better part of two days. We spent the first day ripping out the carpet in the (roughly) 8 feet by 5 feet space. One specific area of the carpet reeked of ammonia (yuck) and we quickly tossed that out the rig, along with the rest of the carpet. It was the padding that was more of a challenge to remove. Levi joked that the carpet installer must have gone crazy with the adhesive, like a child’s first experience with a glue bottle). We used a scrapper to no avail, then boiling water, a heat gun, and spray specific for weakening adhesives. All attempts helped to a degree, but the process took hours, Levi and I taking turns, until we reached a point where we felt we had peeled, scraped, wiped, and vacuumed up all we could. We left the carpet covering the dome alone. It is still in fairly good condition and we didn’t feel confident enough to take on that task, as well. Time for bed along with Ibuprofen for our achy muscles.
The next day we headed to a flooring store in search of vinyl pieces. We figured that vinyl would be easier to clean up soils, as opposed to carpet, and we were looking for peel and stick for quicker application. We ultimately left the store with carpet…go figure!
The store clerk steered us in the carpet direction for a couple of reasons. He agreed that vinyl was the ideal surface to clean spills but that’s as far as he went. He mentioned that since the flooring would be installed on the chassis floor, the adhesive on the vinyl flooring would crack due to the strain of temperature change between the heat of the engine and cooling down from travel. The glue does not hold up well to these temperature changes. The carpet we purchased (along with the adhesive specific for carpets and temperature fluctuations) was ultimately cheaper. In fact, the carpet is specific for vehicles, more durable with shoe traffic and resistant to ultraviolet rays. We didn’t bother with foam. If the cats did happen to mess on the carpet again, we didn’t want foam soaking it up.
We gathered a few more supplies (measuring tape, ruler, razor knife, plastic glue trowels) at a neighboring hardware store and got back to work! The following pictures detail the steps we took to complete our flooring project.
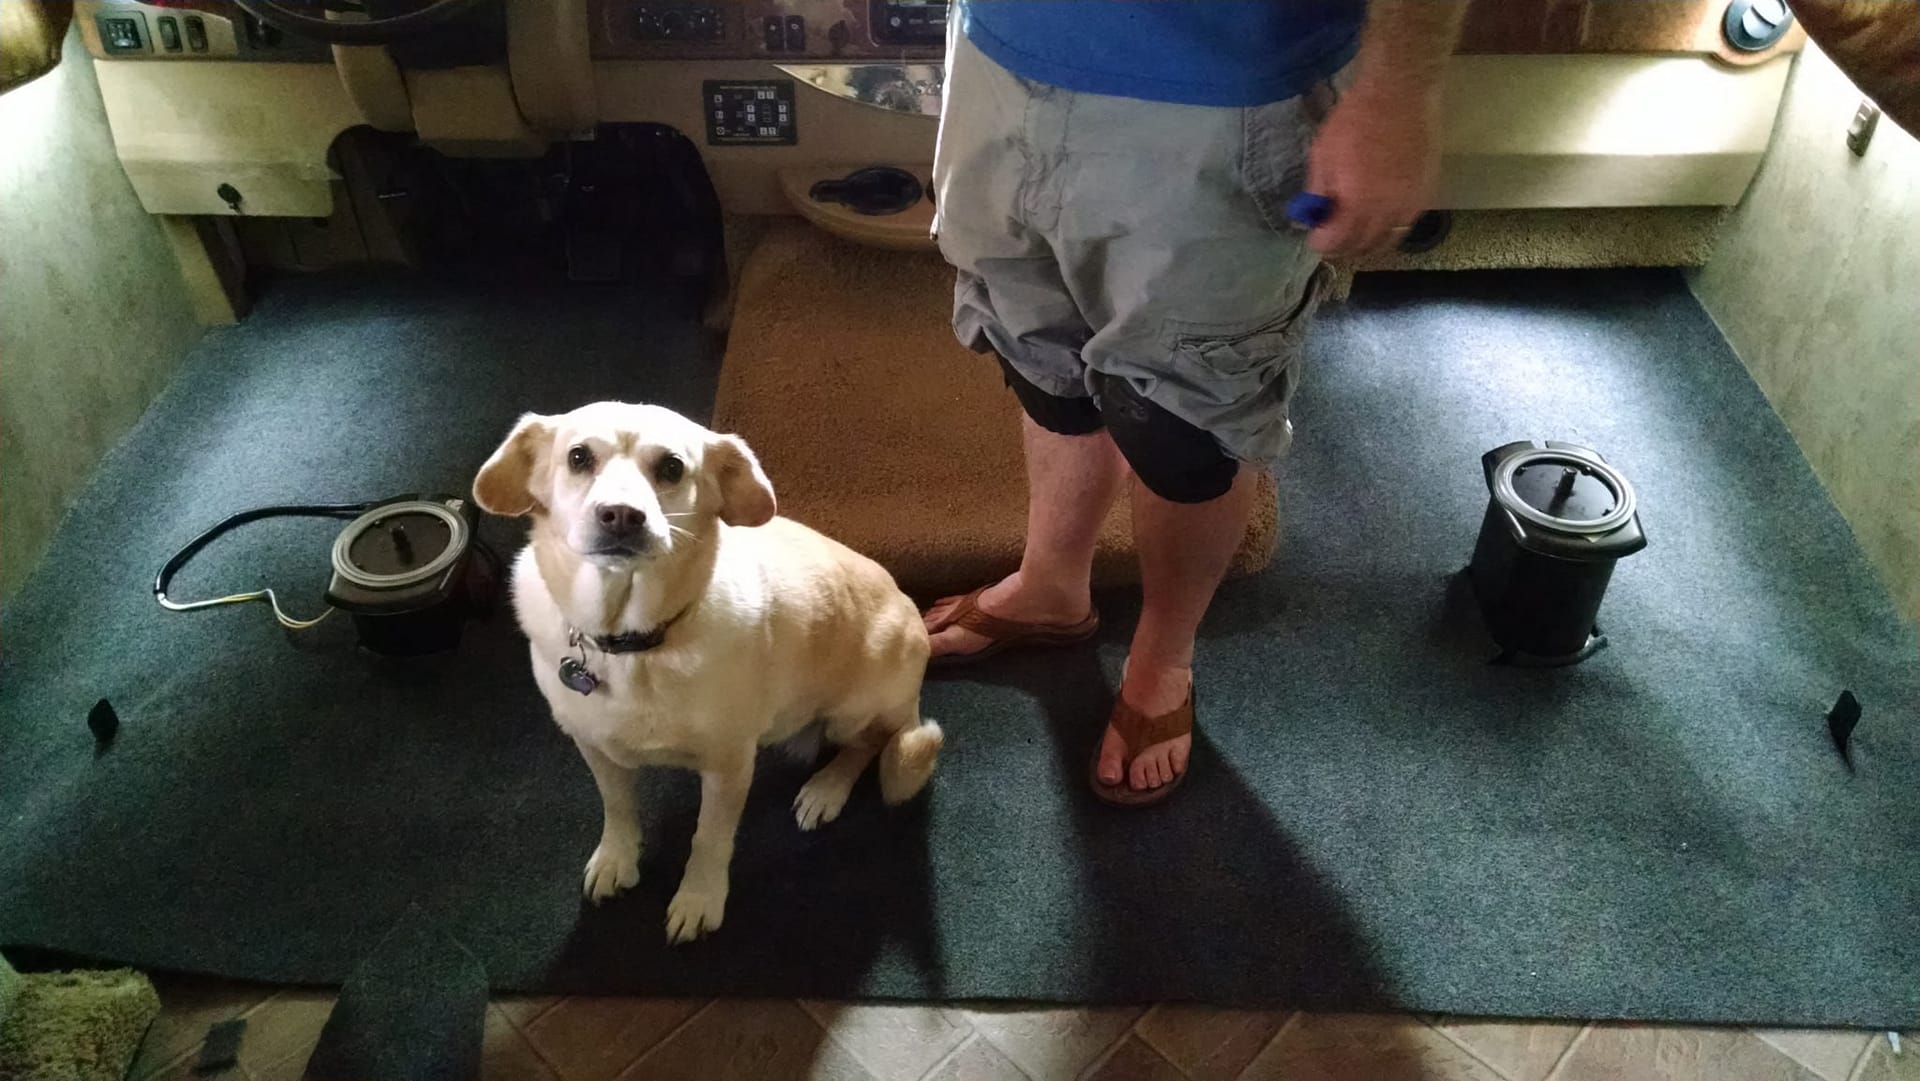
Our DIY project was a success and has given us more confidence to tackle other jobs that we have been meaning to complete. Our next big venture is to sell the futon and replace it with two swivel recliners. The big task will be setting up a functional area that will maximize storage and work space since currently many boxes of supplies are kept under the futon. For more RV living tips and tricks, visit our RVing Info page!
Just a heads-up: We receive commission from purchases made through links in this post, so if you decided to make a purchase, it will help us keep the site growing. We appreciate all of our readers, regardless. Thanks for stopping by our little corner of the trail

Hello Friends,
The project looks great. Thanks for sharing the journey with us.
Your Friends in Historic Goldfield, Nevada.
Malek and Jody