

Disclaimer: Levi and I are in no way affiliated with or representing Sunguard products. We are simply detailing our experience with the product for those interested.
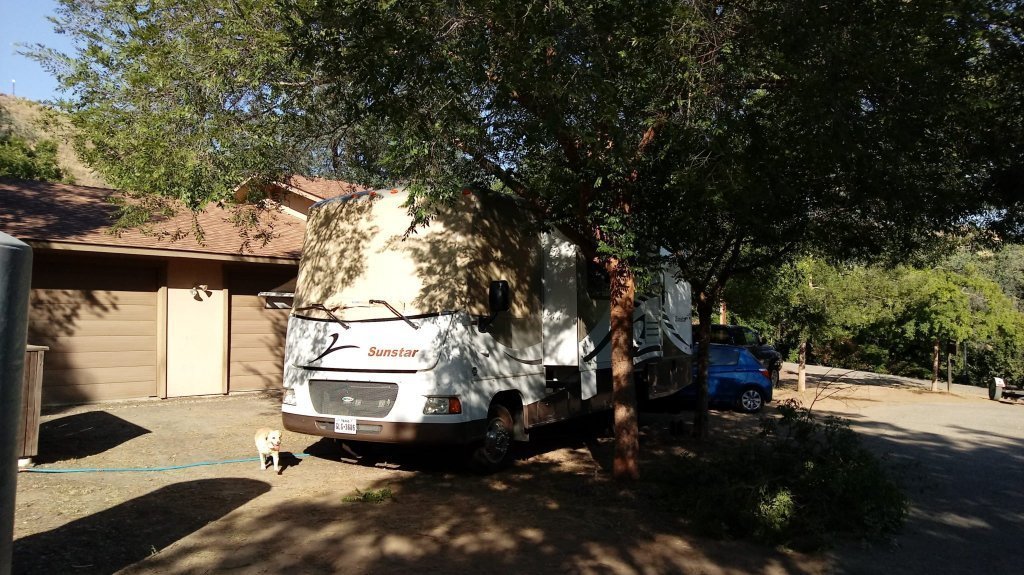
Once we decided to spend the summer months in Las Vegas, Levi and I started making preparations to ready the RV for the extreme temperatures. Desert region means little to no shade, so it was important that we created our own, especially for sections of the rig most vulnerable to sun exposure…the windows!
After a bit of online research, we came across the company, Sunguard™, which specializes in RV windshield covers. The fabric is 100% vinyl-coated polyester and mildew resistant. According to their webpage:
“RV Windshield Covers by Sunguard™ block the sun and allow you to keep your view, but more importantly,
they prevent sun rot, cool the interior of your motorhome and add privacy! “
–http://www.sunguard.com/
With Sunguard, prospective customers are able to choose among:
- cover types beyond window shades (including wipers, mirrors, and tires)
- color selections and density of the fabric (ranging from 85% -100% sun blockage, 94% being the most popular choice)
- fastener options (snaps, twist locks, velcro)
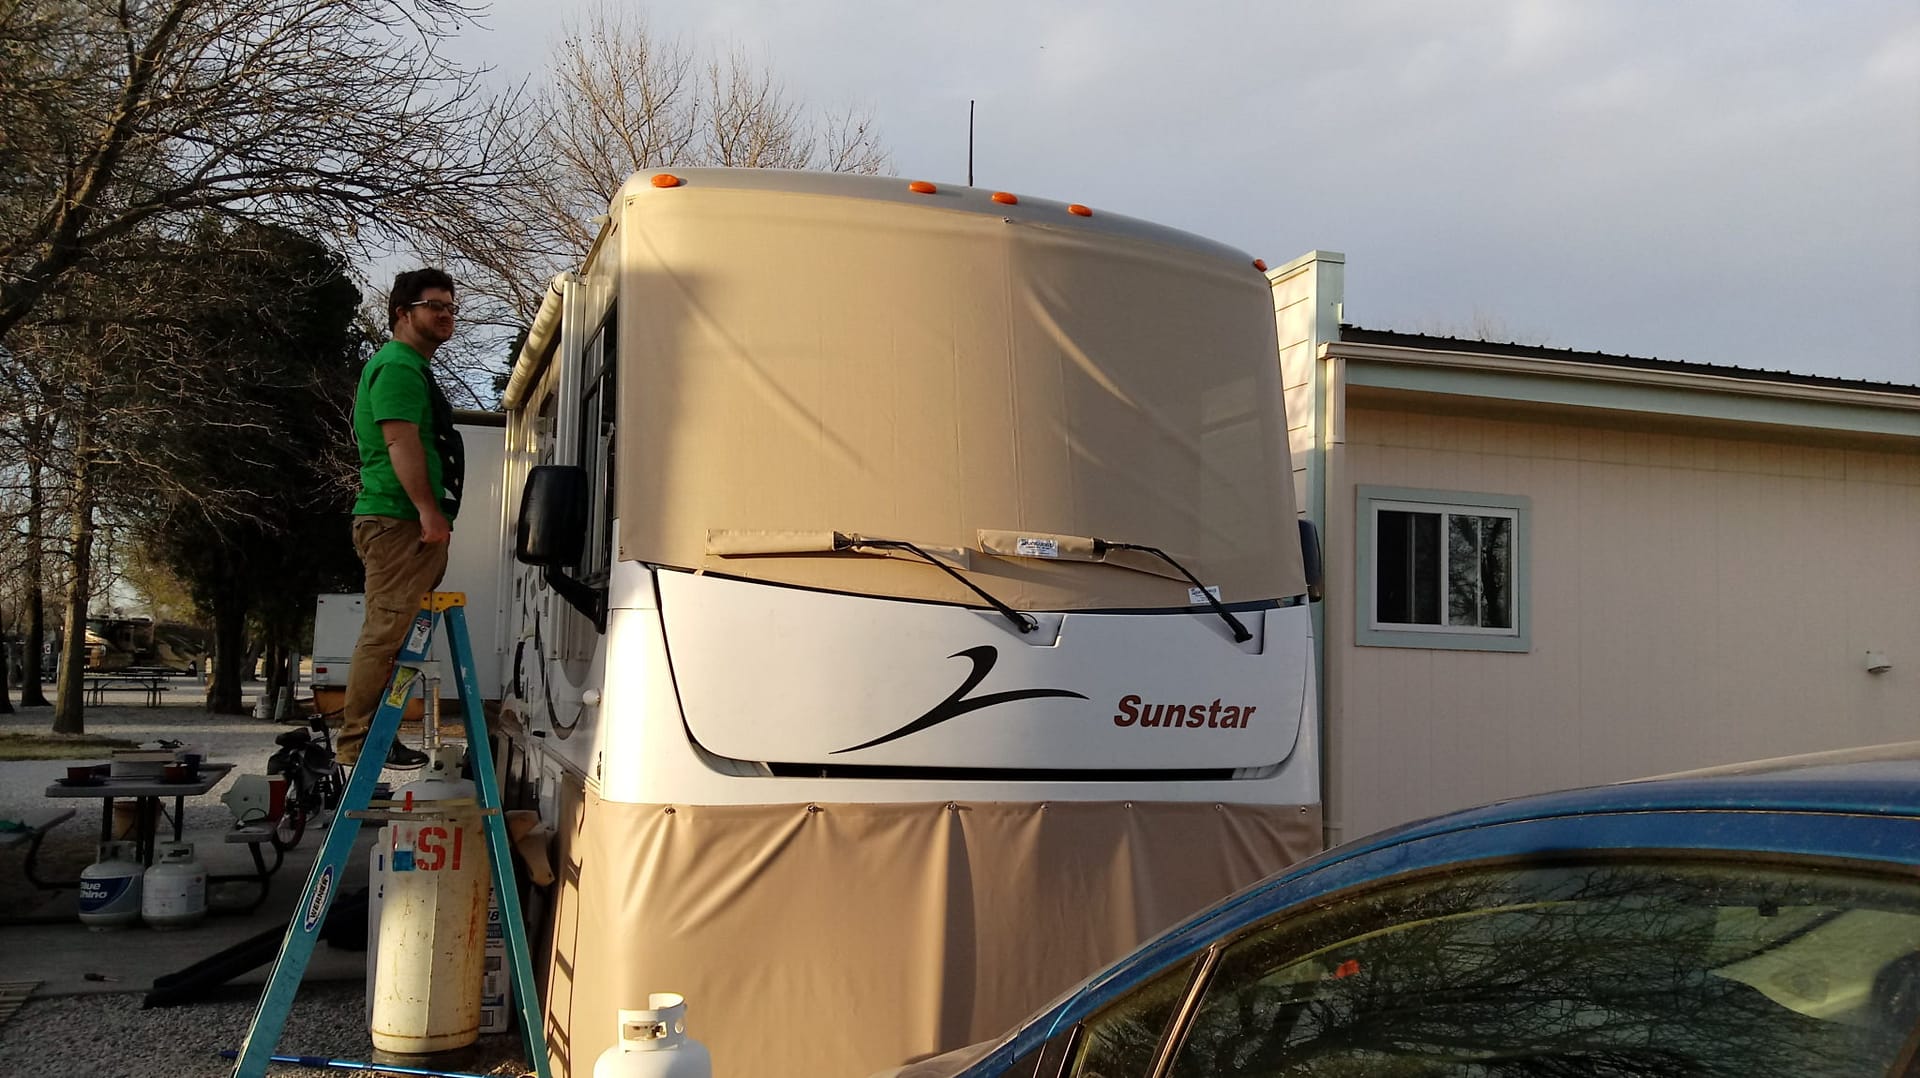
Once we decided what windows to cover initially (front, driver’s side and passenger side), density of the fabric (94%), color, and fastener options (twist locks), we called and ordered. The customer representative confirmed the year, make, and model of our rig in order to obtain the correct cover sizes.
About a week later, we received all the materials and set to work wrapping our front window first and then the sides. The package came with assembly instructions, but you can also see detailed steps on their website.
We ran into a little “Oops!” once we started covering the side windows. The material was not to size. After a quick call to the company, we were back in business. The covers designated for our specific rig were mailed, and we were allowed to keep the shorter material, as well!
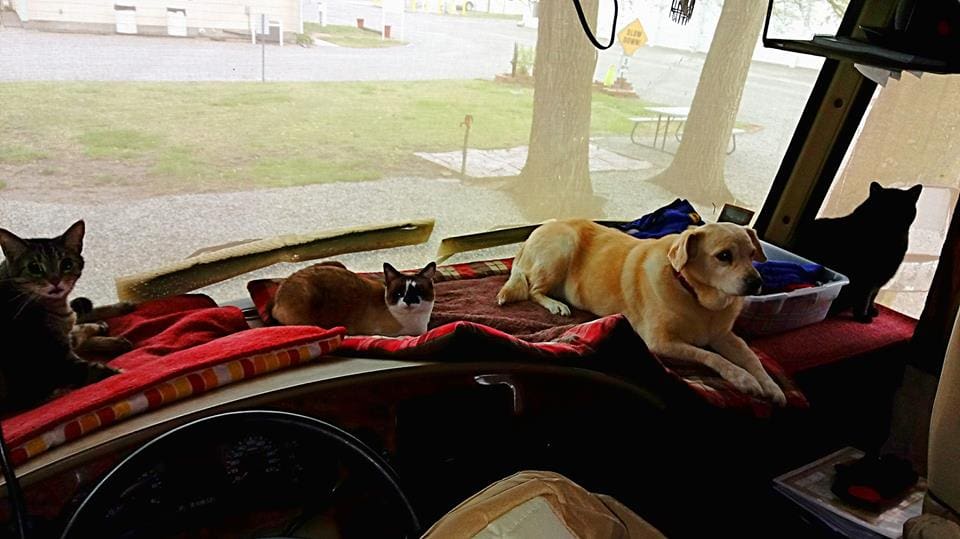
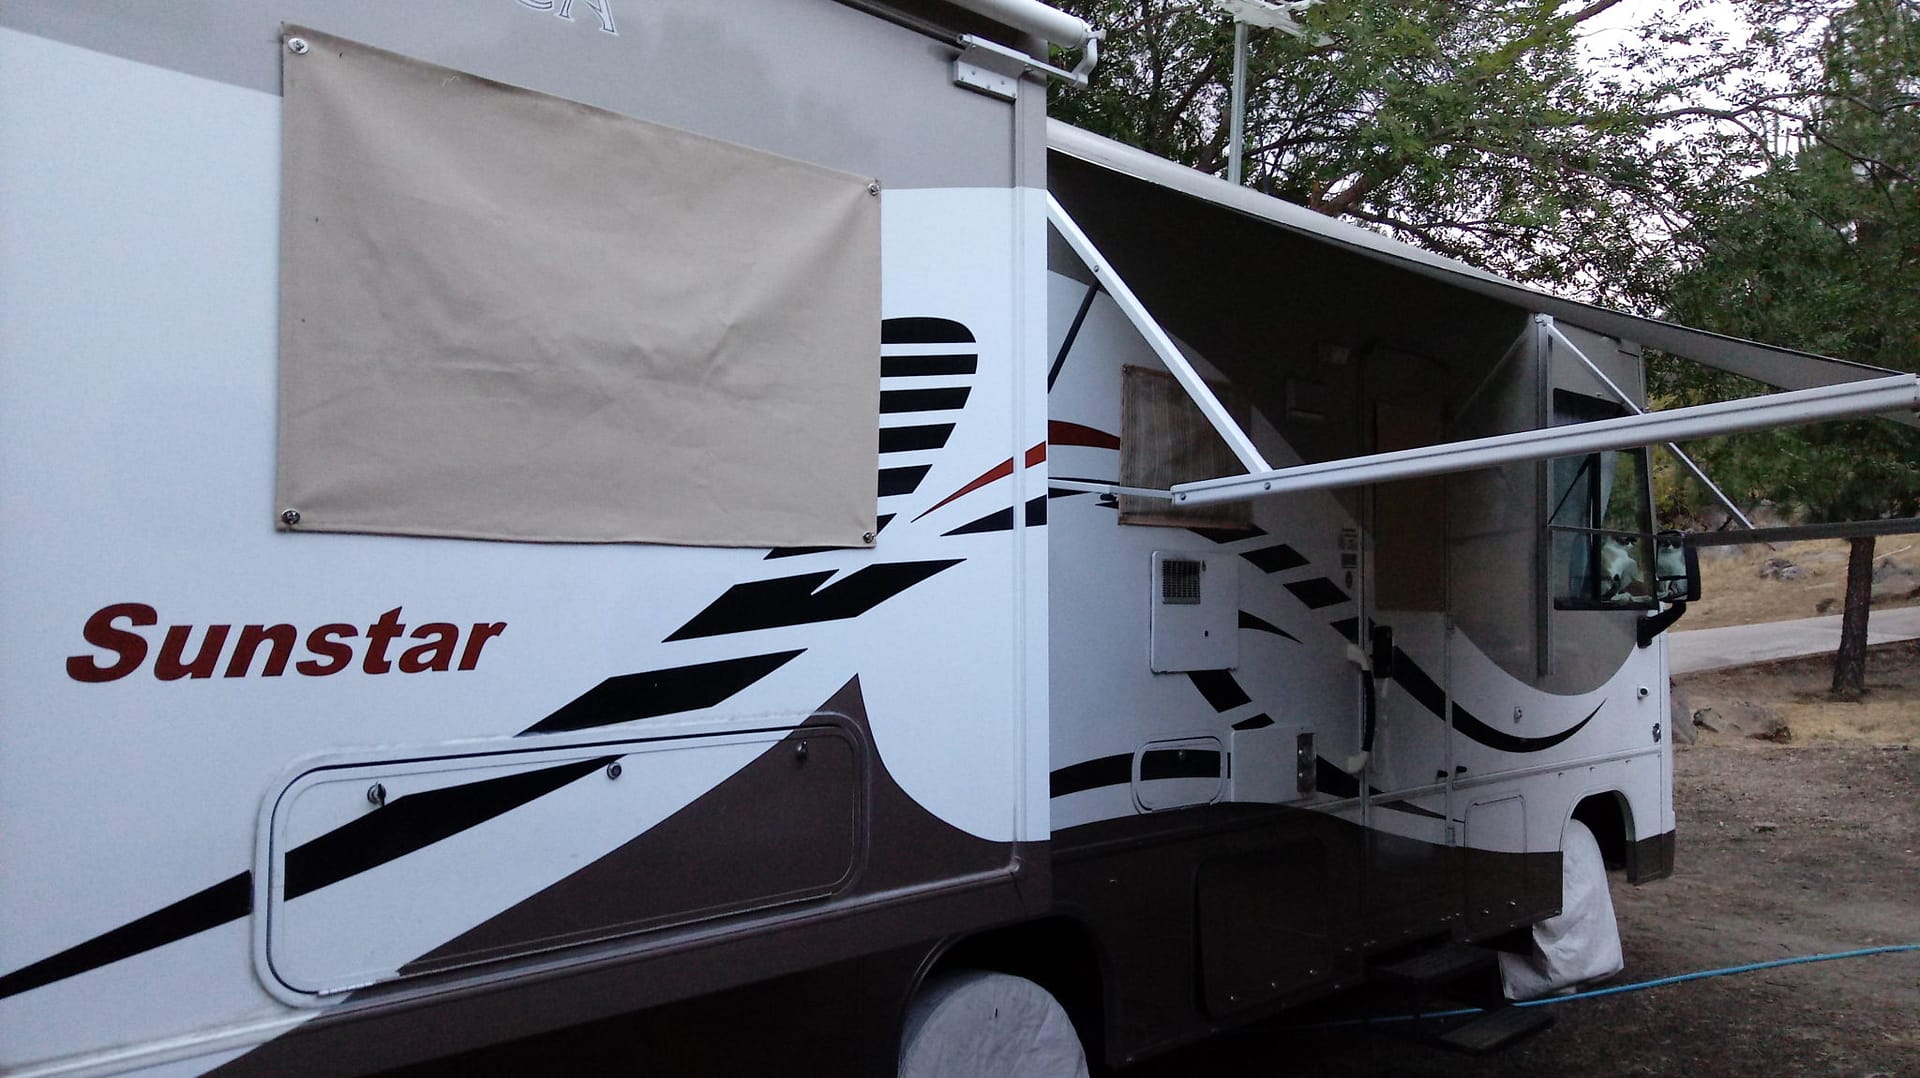
We love the window covers! They allow us to keep our curtains and blinds open and enjoy the scenery while still maintaining privacy. They provide a significant source of shade on sunny days and help protect our windows and window wipers (we got covers for those too) and help preserve our upholstery.
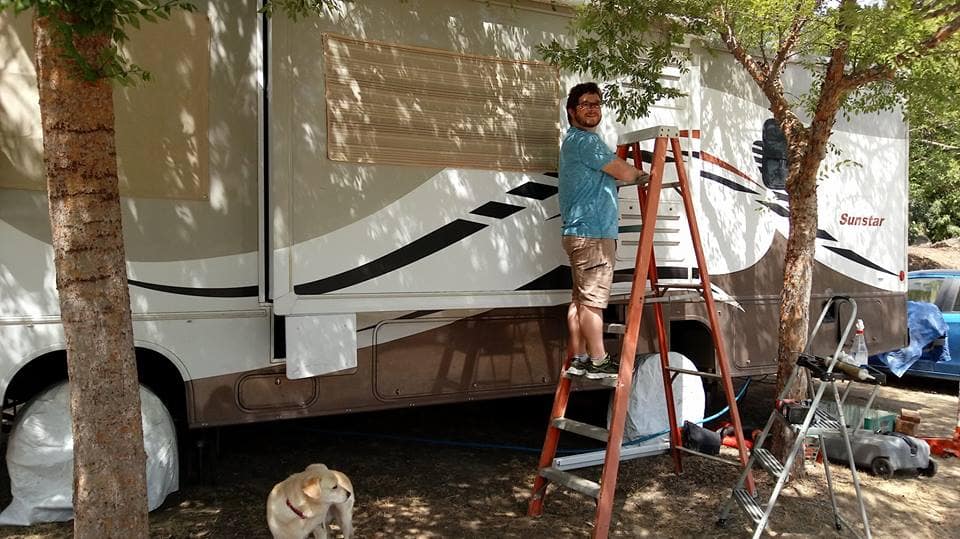
We installed the front and side covers in April before leaving to California that summer to meet up with Levi’s parents. We planned to ask his Mom for her help modifying the size of the side window covers (originally sent and too small for the RV) to fit our other windows. She possess excellent sewing skills! She utilized the canvas and border to cover 3 windows. We needed more material to cover 2 more windows and wanted to try an alternative, less pricey route.
Off to JoAnn’s Fabric and Craft we went! We initially tried to find similar material and color but quickly fell short of this goal. Instead we settled on a more pliable outdoor fabric with similar shades.
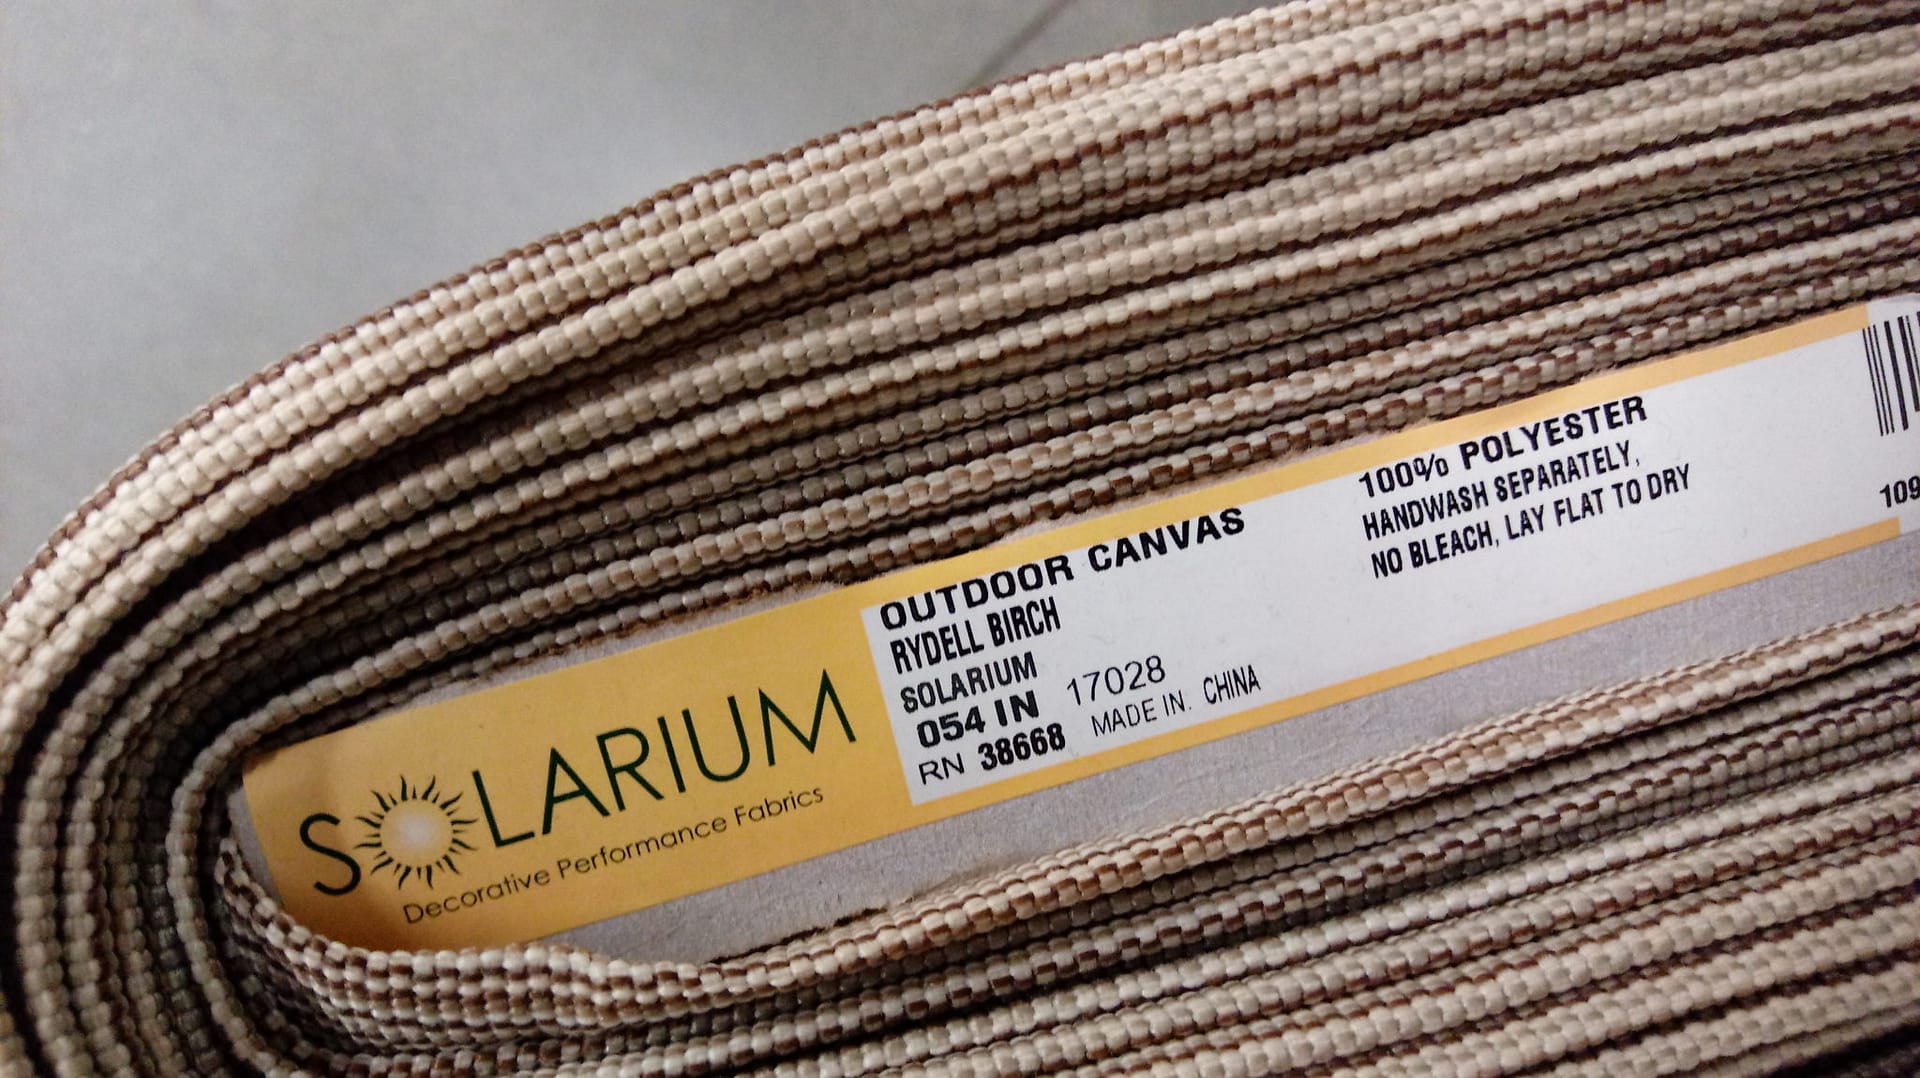
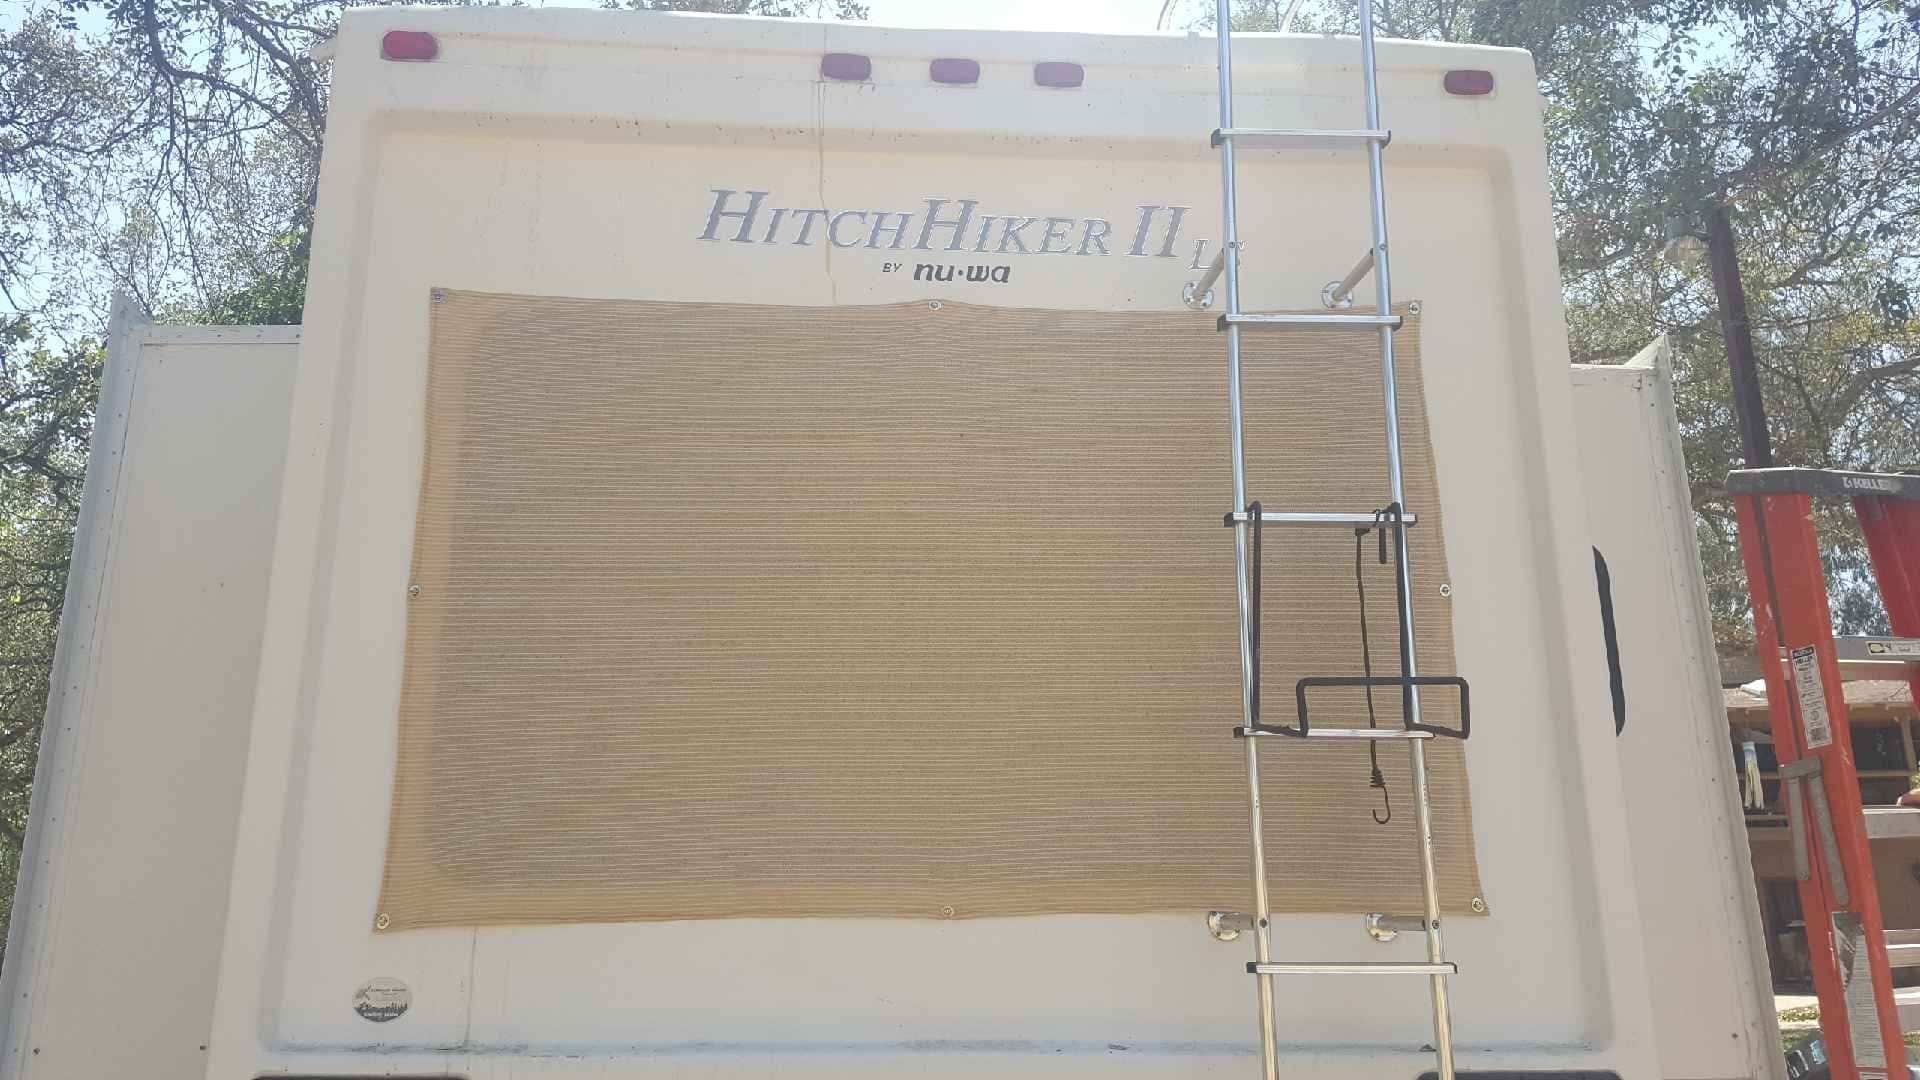
Levi’s mom created the covers using the measurements we provided, allowing about an inch or two of excess to ensure total coverage. She used ribbon for the border. We aren’t able to see out of this fabric but it does provide additional shade and some aesthetic value with all the RV windows covered.
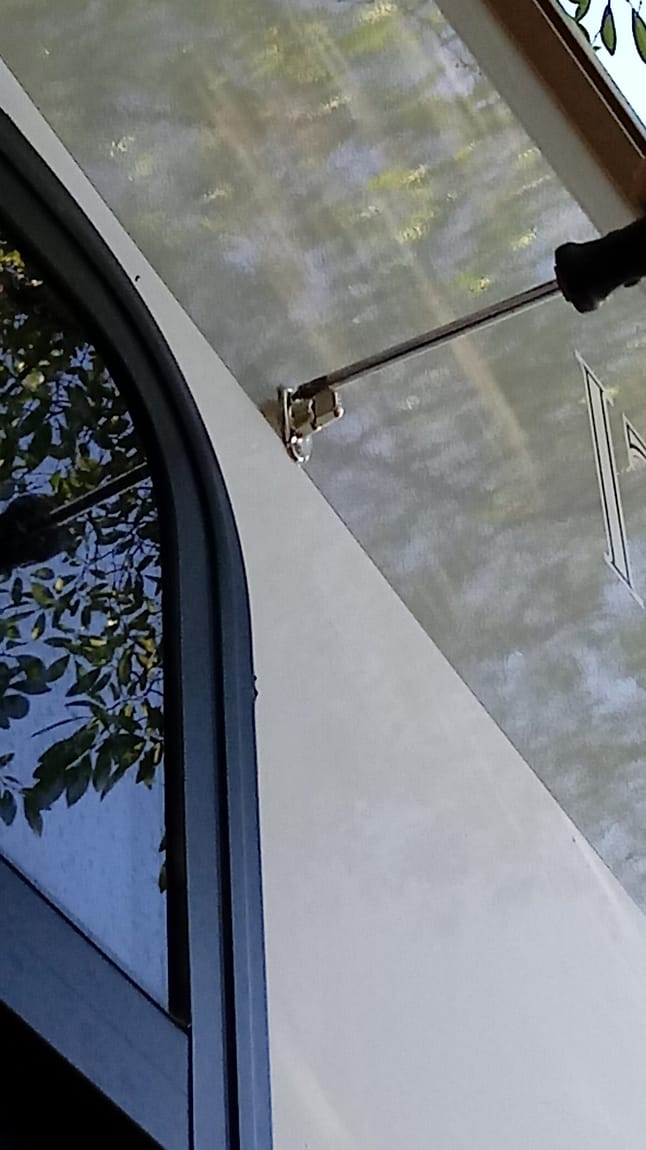
We purchased a large set of fasteners and used Heavy Duty Snap Pliers to secure a fastener on every corner of the covers. Levi used a handy soldering iron to create a hole in the fabric for the twist lock to fit through as shown in the photos below.
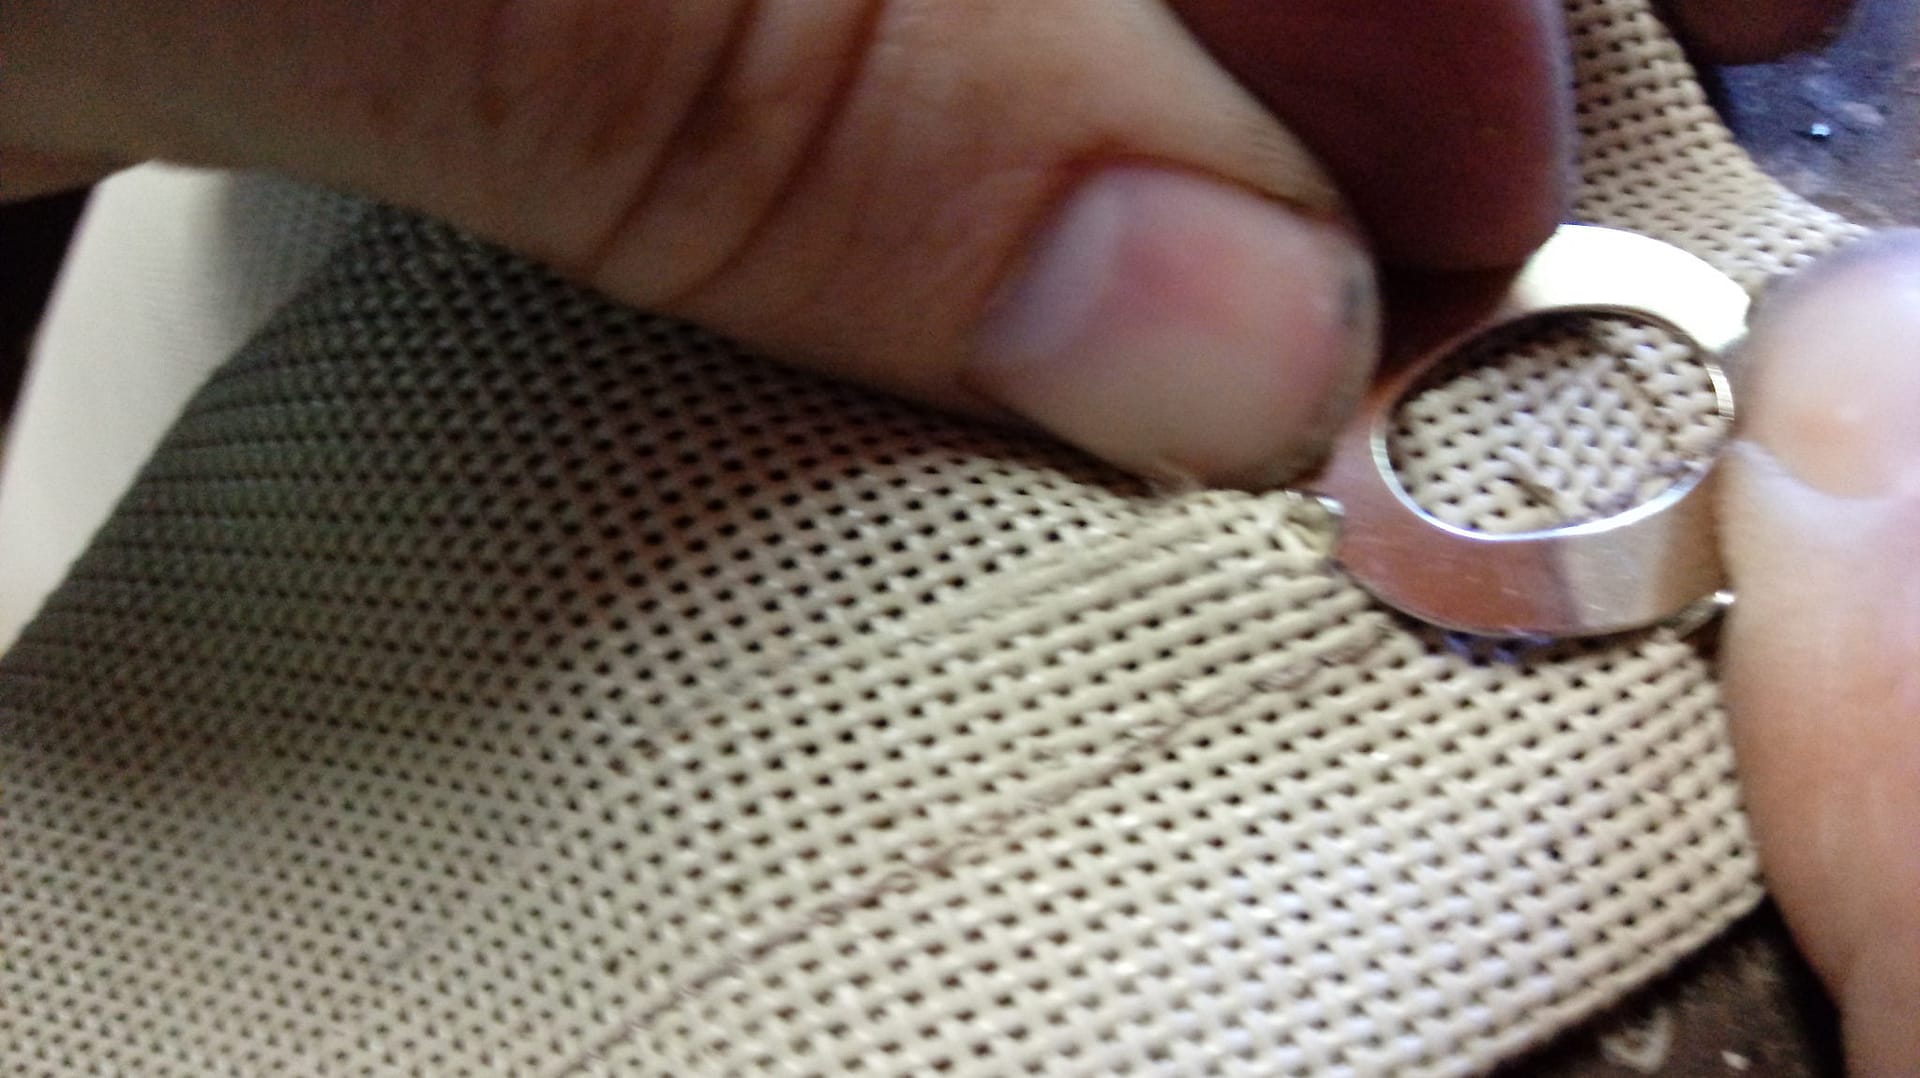
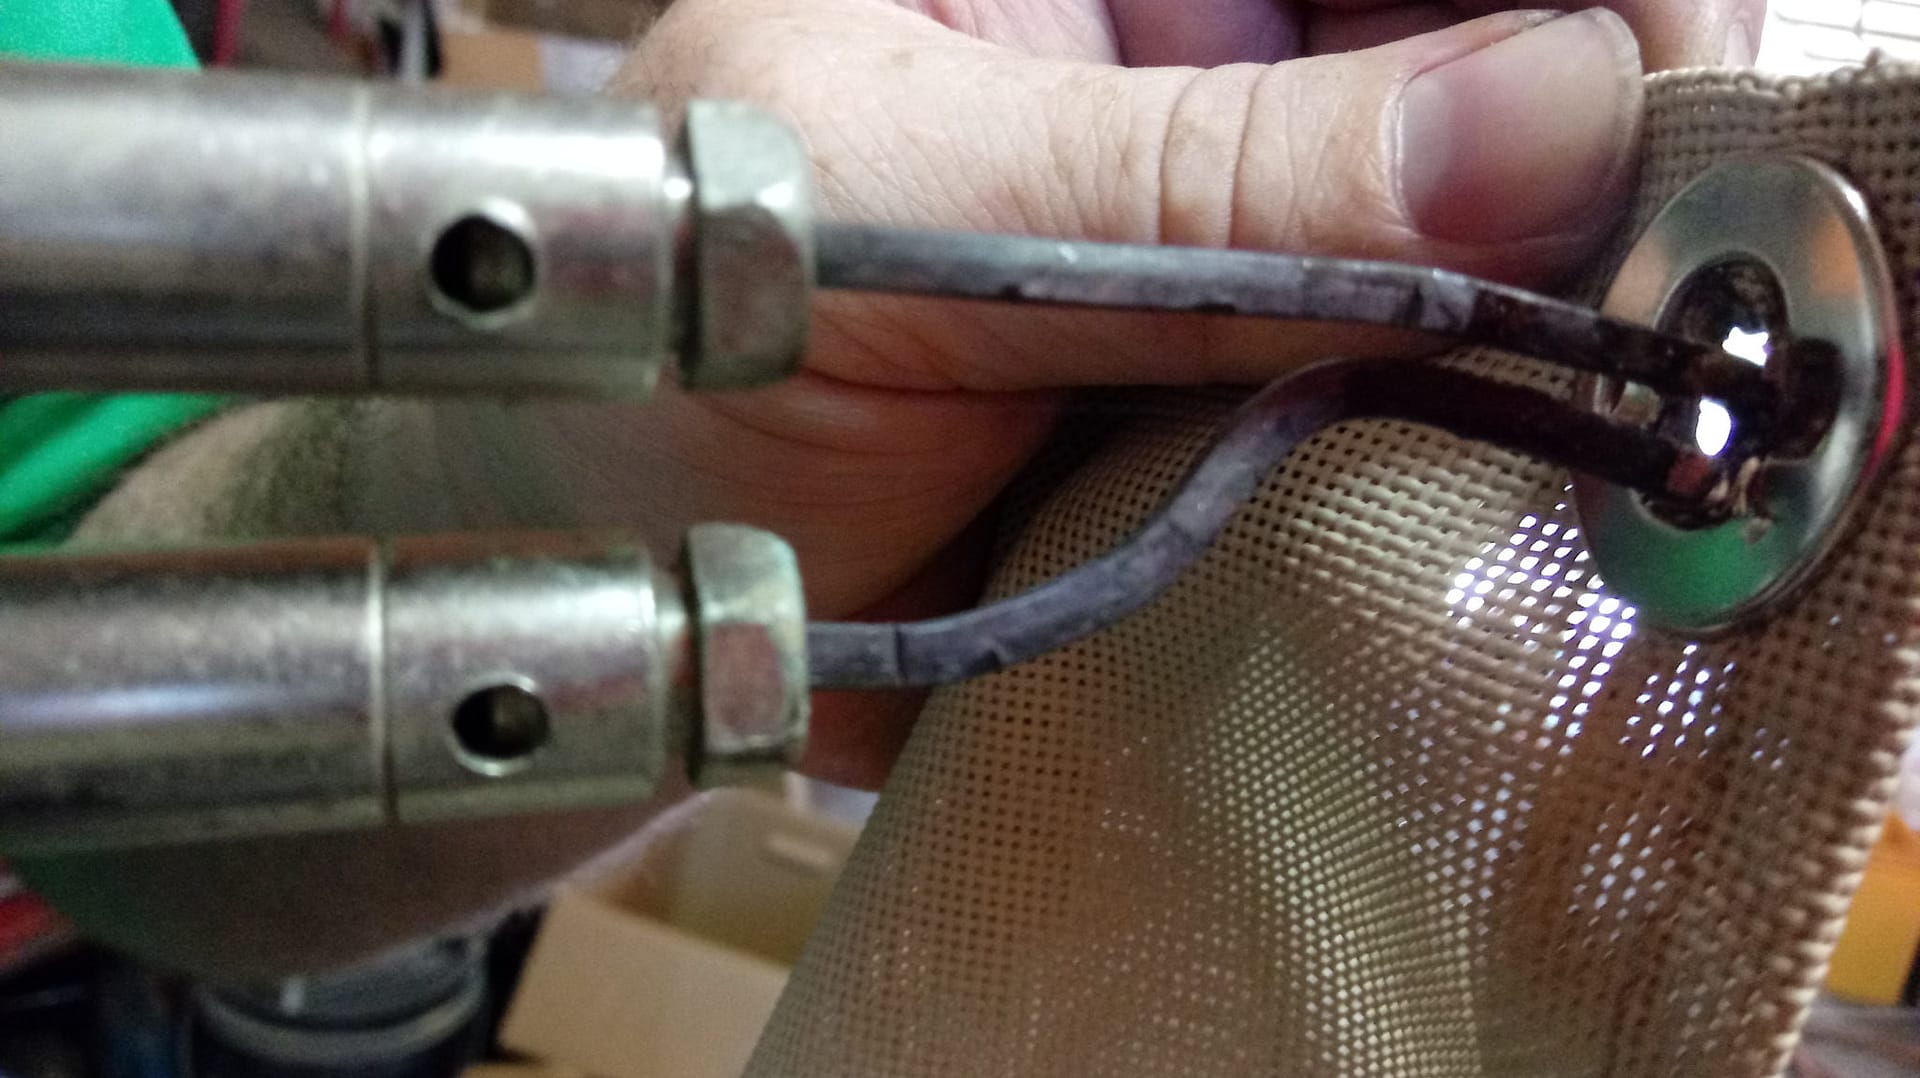
Just like with our initial three Sunguard covers, we followed theses steps to attach lock twists around each window.
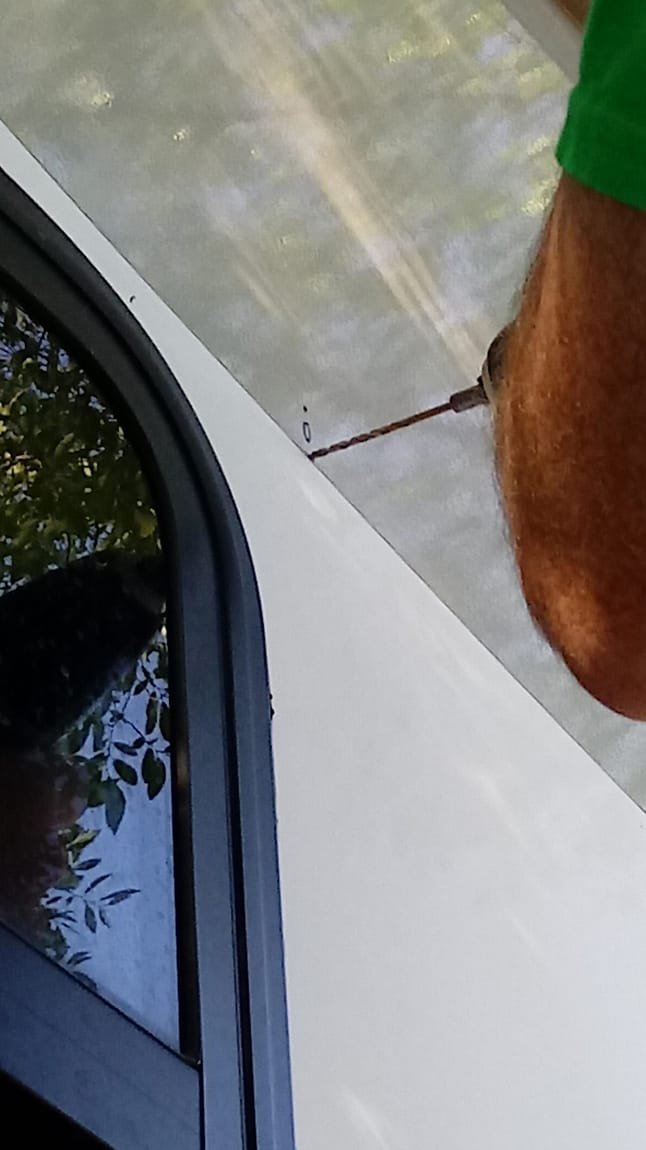
- Determine where the lock will be set, hold the lock in that spot, and mark the screw holes.
- Remove the lock and drill holes at your marks.
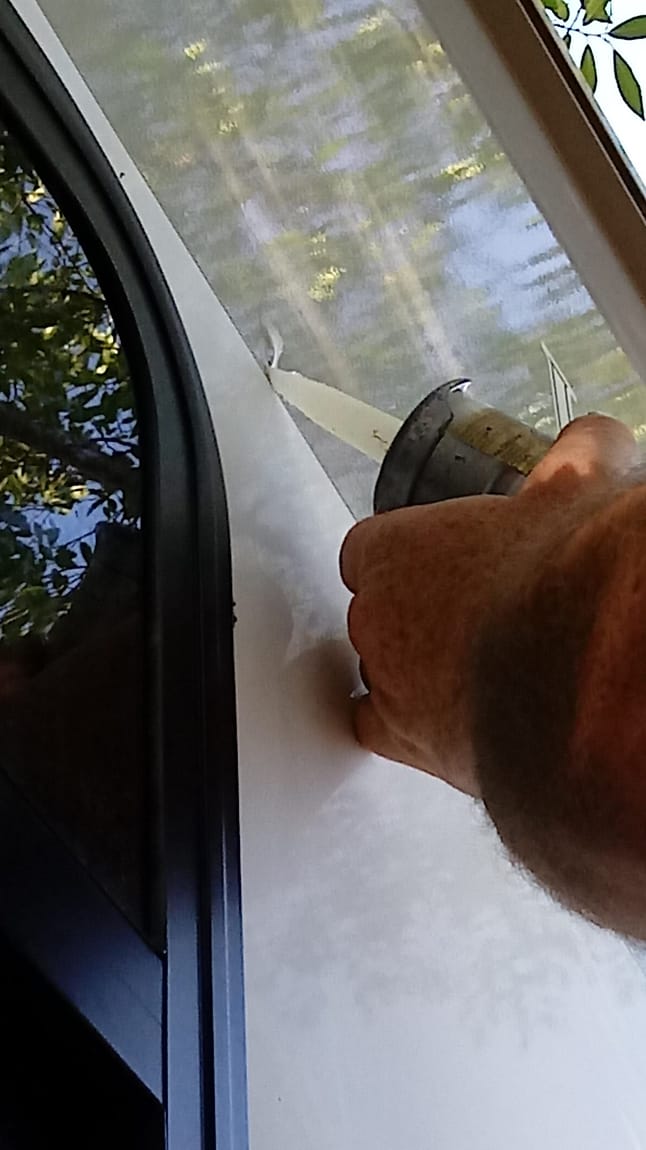
- Apply silicone to this area making sure to cover the holes and create a waterproof seal.
- Screw the lock in and wipe off excess silicone.
- Repeat until all desired locks are secured (we used one at each window corner) and attach the widow cover.
We use our window covers any place we stay for longer than a week, winter or summer. In extreme weather, like the scorching heat in Nevada or the blistery winds in Kansas, we insert reflective bubble wrap sheets between the windows and covers, using painters tape to secure the sheet as needed. Of course, you can’t see out any windows this way, but it provides decent insulation. (We do cut out little windows in the reflective sheet so our pets can see out though.)
Levi’s mom was pretty impressed by the end product that she created shades of her own for their fifth wheel. She ordered reasonably priced fabric intended for outside use and shade.
View from the outside:
View from the inside: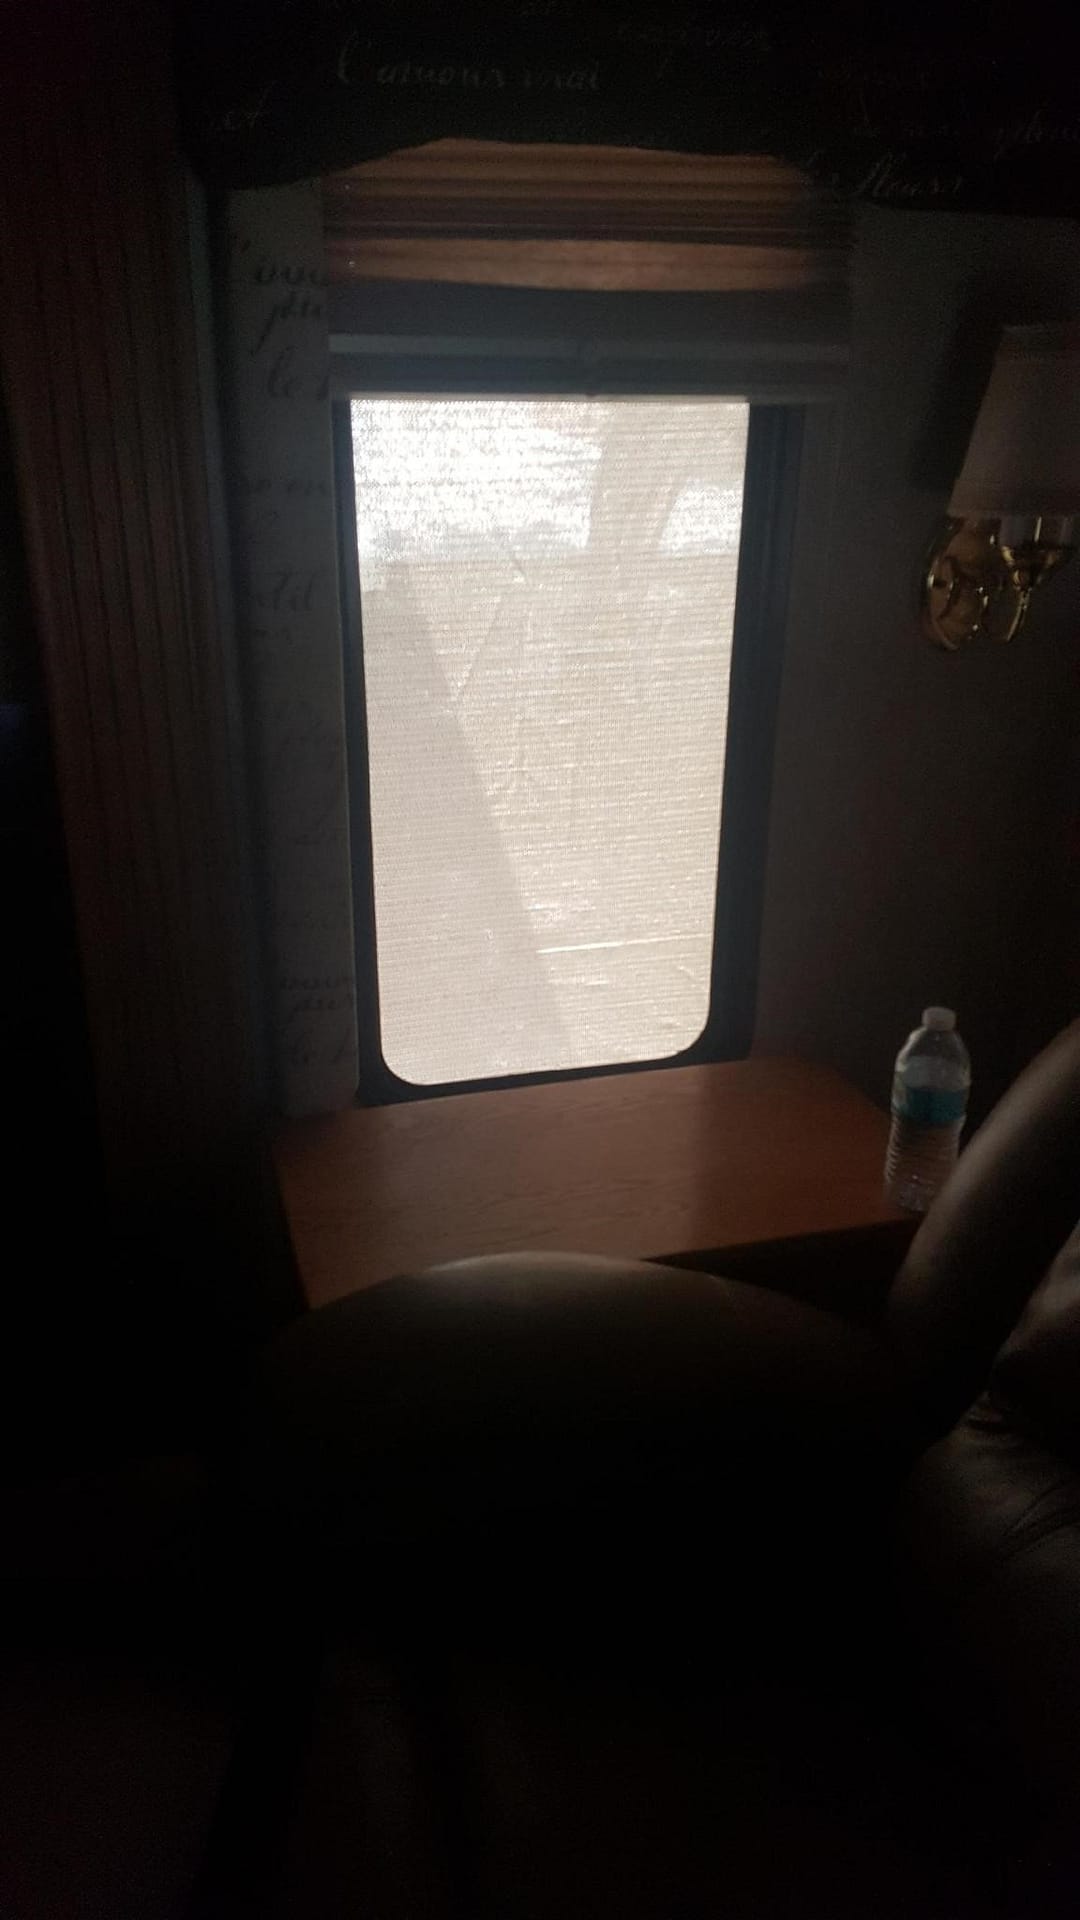
For more RV living tips and tricks, visit our RVing Info page!
If you would like to help keep us on the trail, you can use our affiliate link to do your regular Amazon shopping here.
Also, be sure to check out our RV Store for the latest “RV-themed” apparel, creations of yours truly!
As always….safe travels and happy trails!
Just a heads-up: We receive commission from purchases made through links in this post, so if you decided to make a purchase or sign up for a subscription, it will help us keep the site growing. We appreciate all of our readers, regardless. As always, safe travels and happy trails.
